A compact Miter Fence for the FMT Table Saw | |
|
I have been lately experimenting with a Compact Miter Fence (CMF) built mainly with smaller shops in mind. It proved quite versatile and fairly easy to build. The photos show the prototype built on a 4mm plywood base, aluminum angle and MDF fences. The free plans show a simpler construction out of MDF and some scrap wood and plywood.
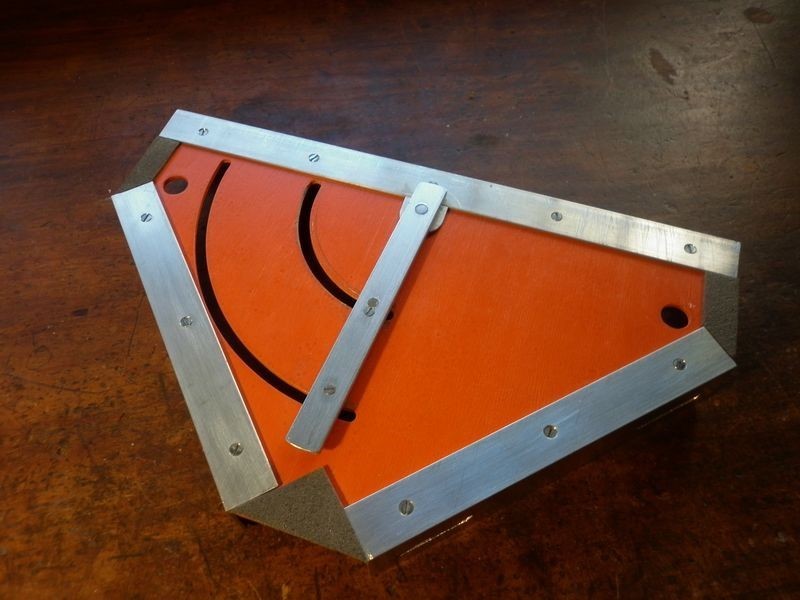
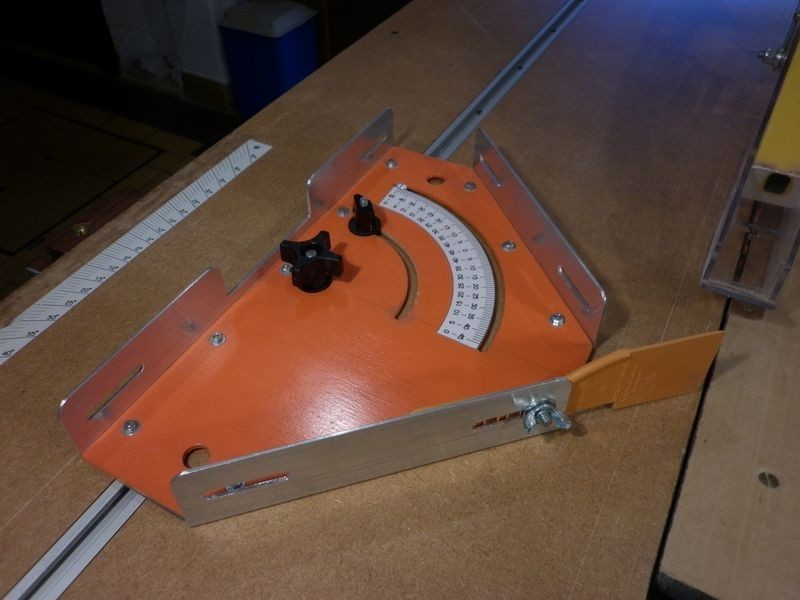
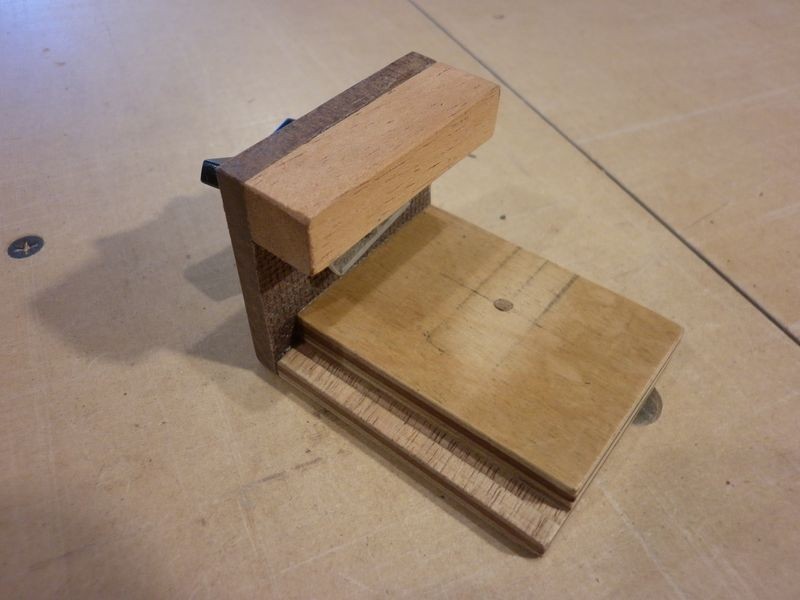
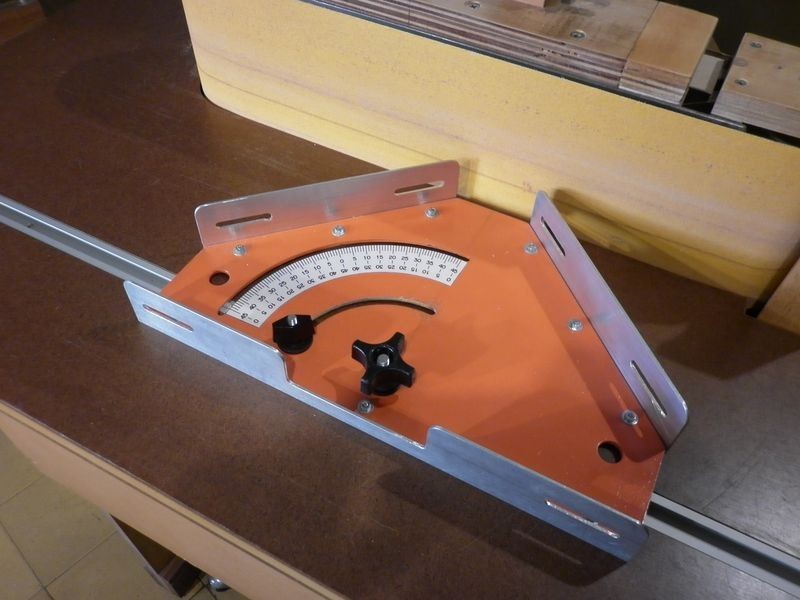
 A first view of the CMF prototype basic unit.
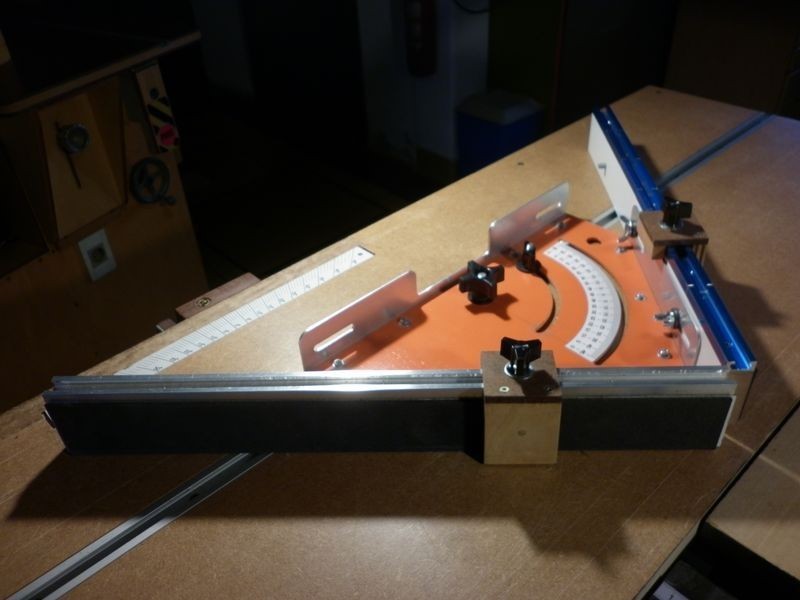
 The underside. The grey pads are some slippery material I had around. Self-sticking, it can be cut to any shape.
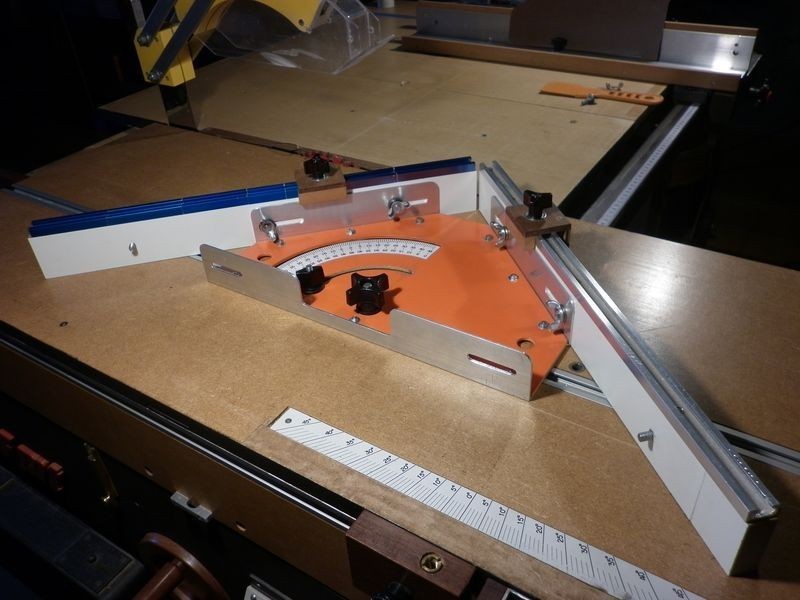
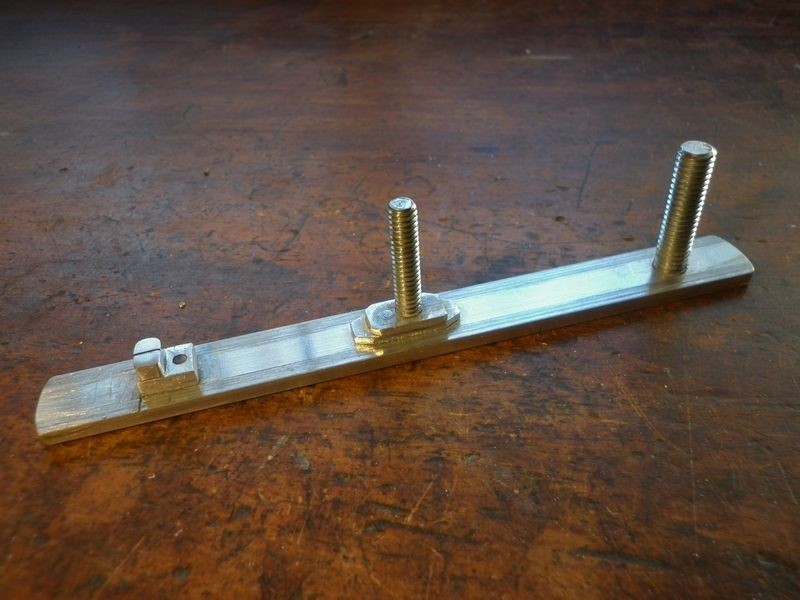 The lower guide is a 4mm thick aluminum strip carefully filed to width until it slides smoothly with no play in the wider slot of the Lee Valley T-track. Mounted, from left to right, the index line, a 6mm threaded rod to lock the angle and an 8mm threaded rod pivot point.
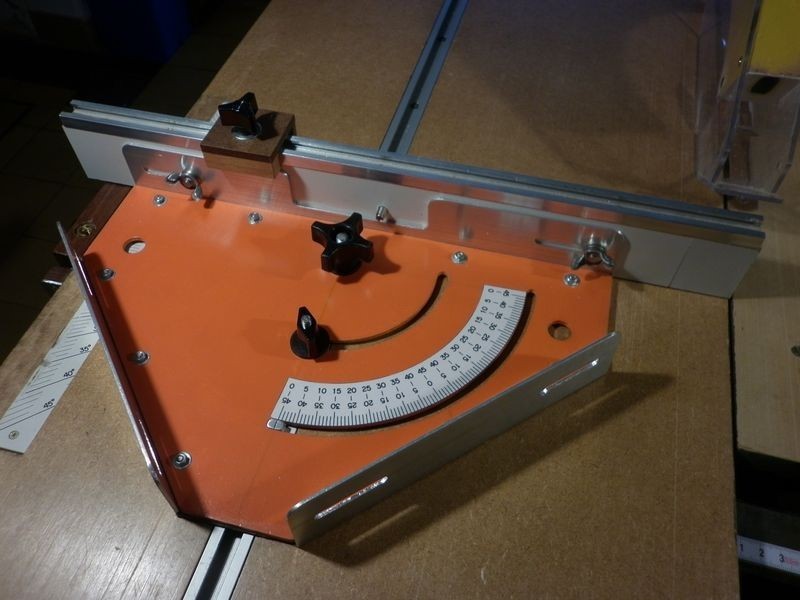 Inserted as a traditional miter gauge, it is used fixed to the Sliding Table whose functionality replaces that of the miter slot.
 Note that a slightly longer fence has been slid completely to the right, set past the blade and trimmed to size. This provides a reference for future cuts. The black face of the fence is high-friction sold in sheets by Lee Valley. It can be replaced by any other high-friction tape or 60 grain sandpaper.
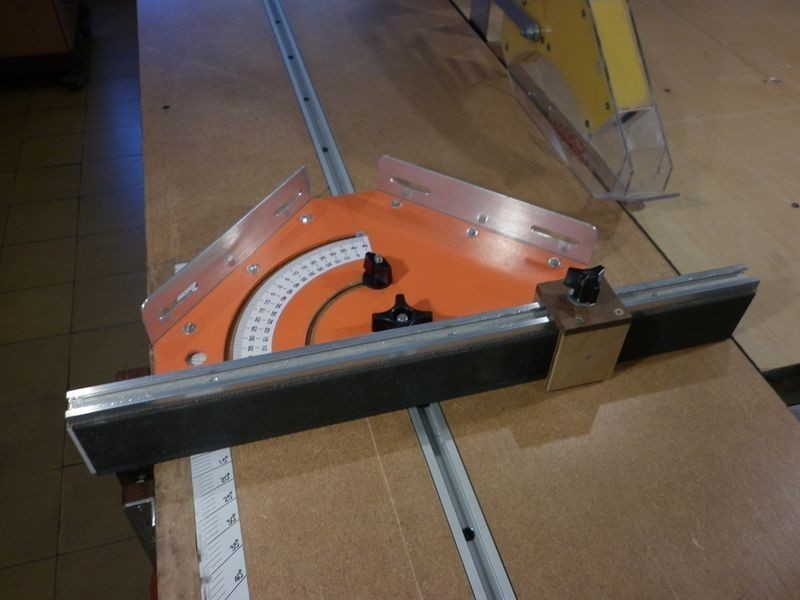 Reversed 180° and set to push forward both the workpiece (against it) together with the Sliding Table. This is the preferred setup of operators using this type of saw.
 The same slightly longer fence has already been set past the blade and trimmed to provide a reference for cuts in this second optional position.
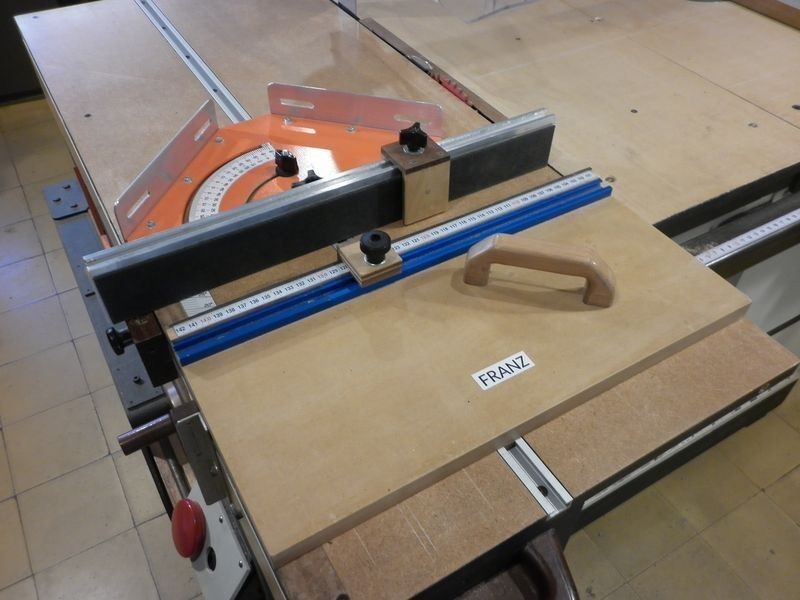 When set this way the CMF can replace Fritz for cutting small parts with the aid of Franz.
 It will also work as a featherboard for ripping too. A hardboard or a plastic strip with suitable holes mounted as shown keeps the workpiece preseed against the Rip Fence. In this case I used a plastic putty knife. The fence has been rotated 90°.
 The “featherboard” can be slid towards or away from the blade as required. The photo shows a second optional alternative for its installation.
 When rotated 90° with the apex pointing to the blade and with a second fence, it will work as a jig for cutting perfect 90° miters for picture frames or doors.
 View from the operator’s side and ready to cut miters on equal width workpieces. A simple method described further on allows mitering workpieces with different widths.
 The stops, built from scrap plywood and 6mm hardboard, have a rabbet on one side. There is a right and a left one. The rabbet avoids marring the edge of a mitered workpiece and provides a much better reference support for cutting.
 To miter workpieces of different widths, start by placing the wider one over the narrower, aligning the ends. Mark a short line on the narrower piece and join this line with the corner as shown in the photo.
 Place the narrow workpiece against the fence and rotate the unit until the pencil line is aligned with the blade. Slide the workpiece as necessary using the edge of the Sliding Table as a guide. Make the cut.
 After adjusting the fence for the first cut, the unit should not be rotated. Now place the wider workpiece against the farther fence slide it towards the blade until it is aligned with the blade. Make this second cut. The remaining cuts for the frame should be made always placing the narrow workpiece against the nearest fence and the wider one against the farther fence.
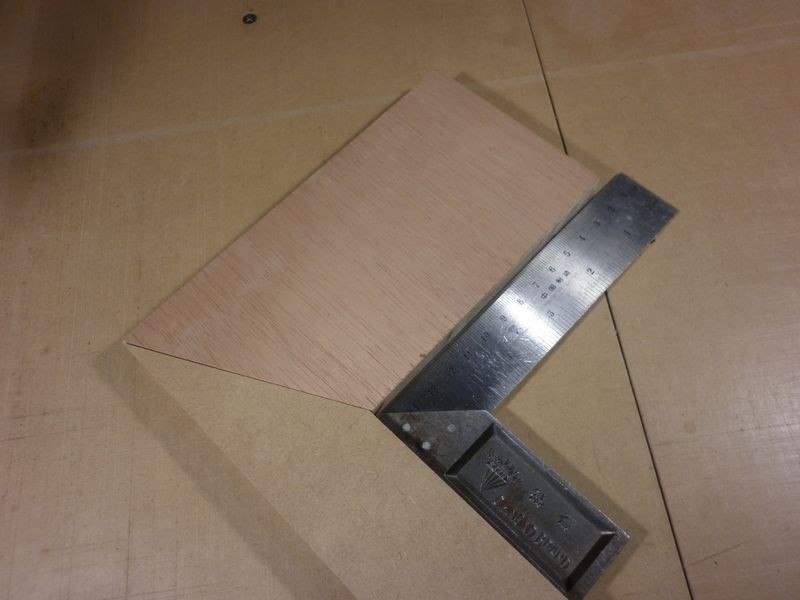 A perfect 90° joint!
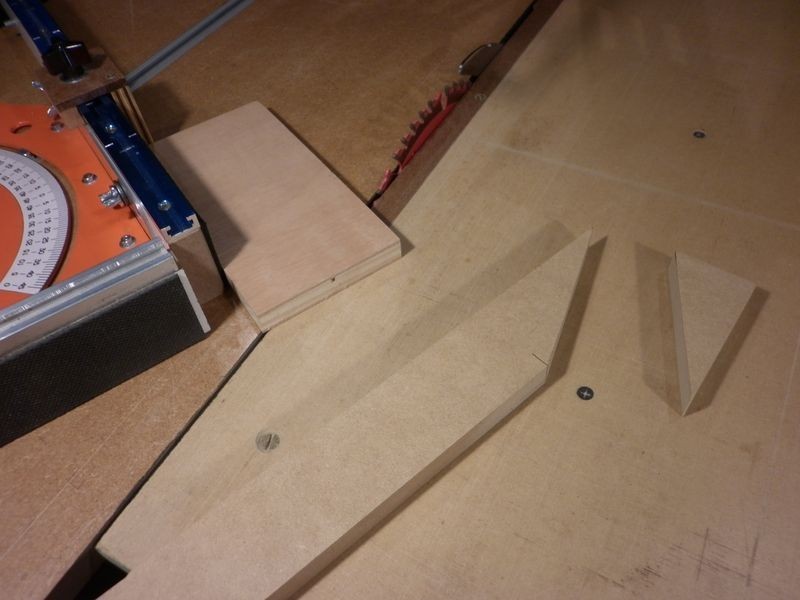
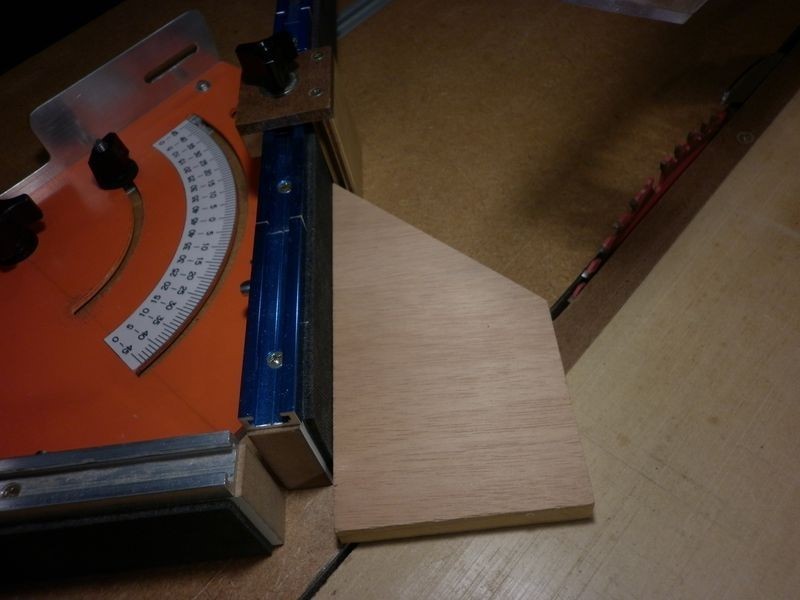
 To cut equal sided gussets, reset the CMF to 0° and make a first cut. We used the previous wide workpiece for this new example.
 Place the workpiece against the other fence and make the second cut.
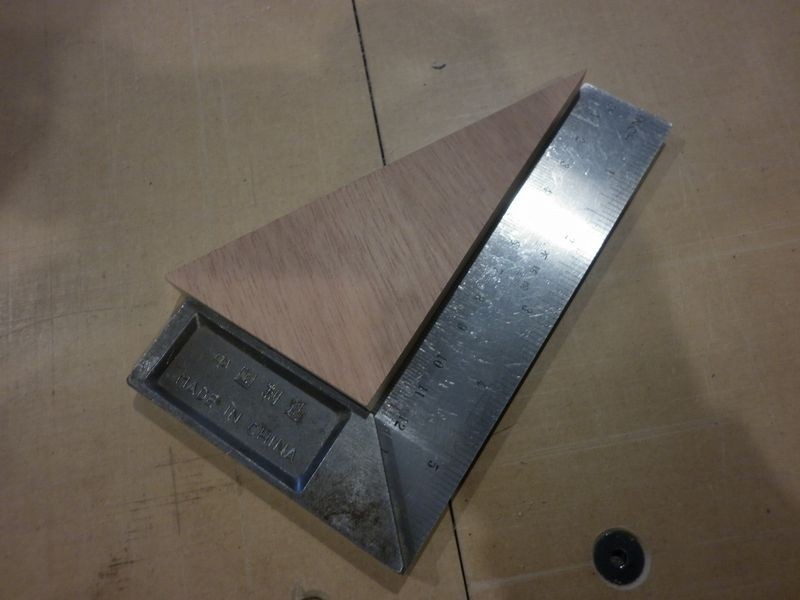
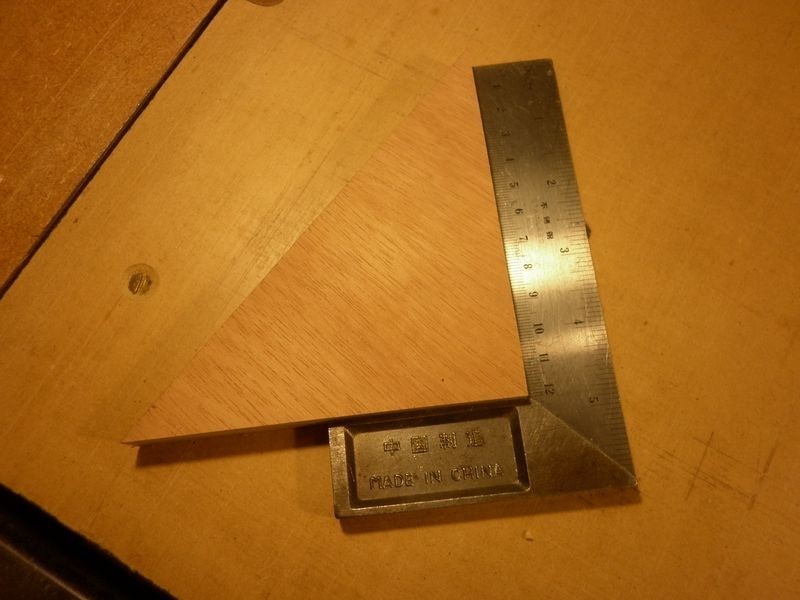 An also perfect 90° gusset. If an unequal sided gusset is desired, just dial in a suitable angle and use the same procedure.
 This is the same gusset recut setting the CMF at 30°.
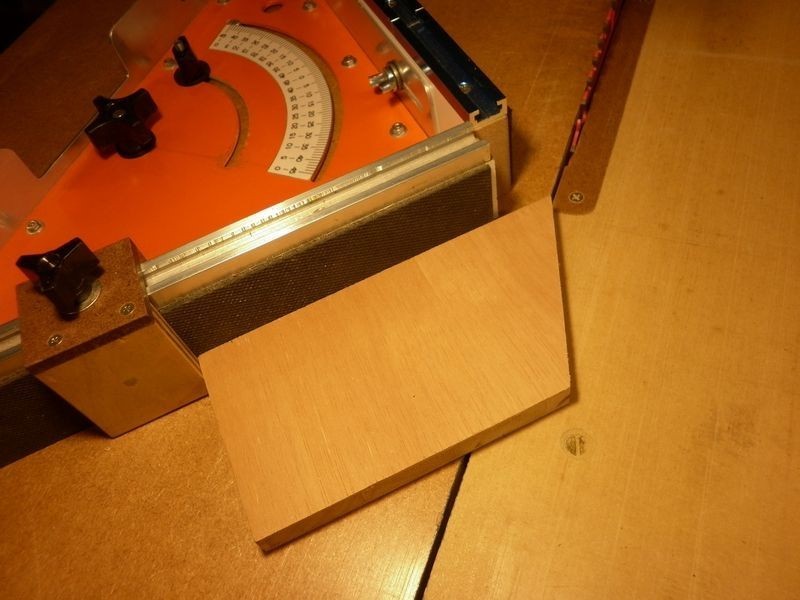
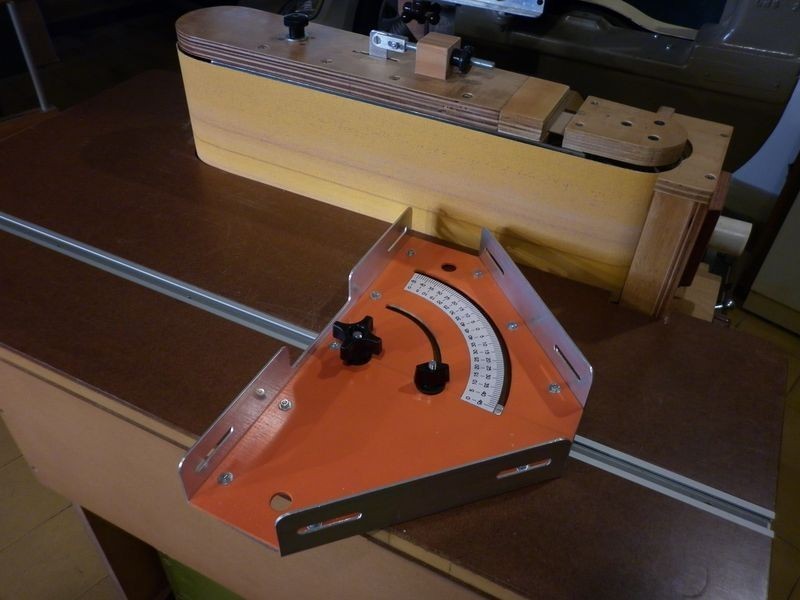 As a bonus, I can use the CMF with my edge sander. Here set at 90°...
 ...at 45°, or any angle in-between.
 Stored at the front of the FMT with two “L” hooks.
Files for download: | |
|
| |
| [ back ] |