Ripping with the FMT Table Saw | |
General safety rulesNormal rippingUse the provided Rip Fence. Adjust its position with the scale attached to the guide fixed at the front of the cabinet. For an even finer setting there is the micro-adjusting mechanism. The far end of the fence should be aligned with the center of the saw blade. The aluminum base is cut to the proper length to aid in setting the wooden sliding fence correctly. When the workpiece being ripped reaches this point the cut is already finished and any fence beyond is unnecessary and a potential trap for the material in-between. Do not remove the Riving Knife. This is the best protection against kickback, whether the blade is vertical or tilted. The suggested design allows to keep it in place even for non-through cuts. The Blade Guard must be also kept in place and only removed for non-through cuts. It is part of the Dust Collection System and a visual reminder of the danger that lies inside it. Since its installation and removal is very simple and fast there is no excuse to avoid its use. Choose the high or low side of the reversible fence, whichever is more suitable for the operation in course. The low side should be used when ripping with the blade tilted to keep it from colliding with the fence. All European style table saws have the blade tilting to the right. This does not present any problems with wide rip settings but a different technique should be used with narrow workpieces. Always use an aid to push narrow material through. Pushsticks are a popular choice but we prefer Pushers as the one illustrated in the plans. It pushes both forward and down and keeps your fingers shielded from the blade. With the Blade Guard in place, there is also a physical limit to the ripping width. In other words, if you find that you cannot pass the workpiece through using the Pusher because the Blade Guard is in the way, then you should use another method/tool to do the job. Ripping long workpieces
Always use supports both at the infeed and outfeed ends. We have been experimenting with PVC tubing with very good results. Their slick surface work as well as transfer balls, they weigh and cost less and are very easy to install. Avoid rollers, they may pull the workpiece out of line making the operator to fight this nasty tendence. This is an altogether uncomfortable and dangerous situation.
 This is a very simple infeed support. Made from 10mm plywood, it has a cutout for the Sliding Table handle and is held in place with four bolts. Two of them on 8mm inserts at the Sliding Table edge and two on the lateral edge pieces. One of the bolts is not seen in the photo as it is hidden under the handle.
To install PVC tubing a wide enough slot must be cut along its length. To do this safely and accurately, screw the tube to a straight slat so that both rest on the table surface. Run the slat against the rip fence to cut the slot in two passes. It is better if the slot is slightly narrower so that the tube is sprung in place over the plywood or wood support. Cut the tube to length, install it and hold in place with a couple of screws.
 With the Sliding Table locked at the central position the support is still useful, especially with heavy workpieces.
 At the outfeed end, we have designed a much lighter structure also with PVC pipes. It may look deceiving but it is very strong.
 Here it is extended. Note that the PVC pipe near the cabinet is shorter to provide space for the Sliding Table. This allows the latter to be used without the need to fold down the support.
 A view of the folding lever with the support extended. A sliding bolt locks it in this position.
Ripping with the Sliding TableThe Sliding Table provides a very safe way to rip material. Users of bigger professional saws, with much longer sliding tables, seem to prefer this method in all cases, except for wide material. For these, there is the Outrigger Table specifically designed to deal with sheet material (panels).The FMT Table Saw was designed to fit the (always!) small home shop, therefore its Sliding Table was limited to a length of 1 meter. Its footprint is, therefore, similar to that of a standard Cabinet Saw. Using the standard Fritz & Franz jig it is possible to rip up to 70cm long workpieces as explained in Part 2 of our article describing this jig. However, we have devised a simple variant of it that raises this limitation to 93cm.
This jig excels for cutting thin strips as explained in Part 1 of our article or, better still, in www.youtube.com/watch?v=DqzVglze9Nk. In this link, the speech is in German but the video is clear enough to understand its possibilities and versatility.
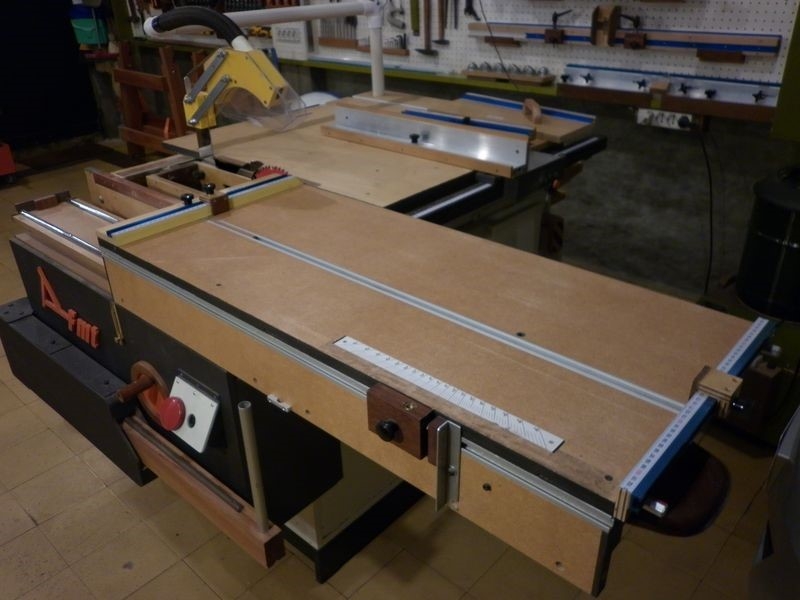
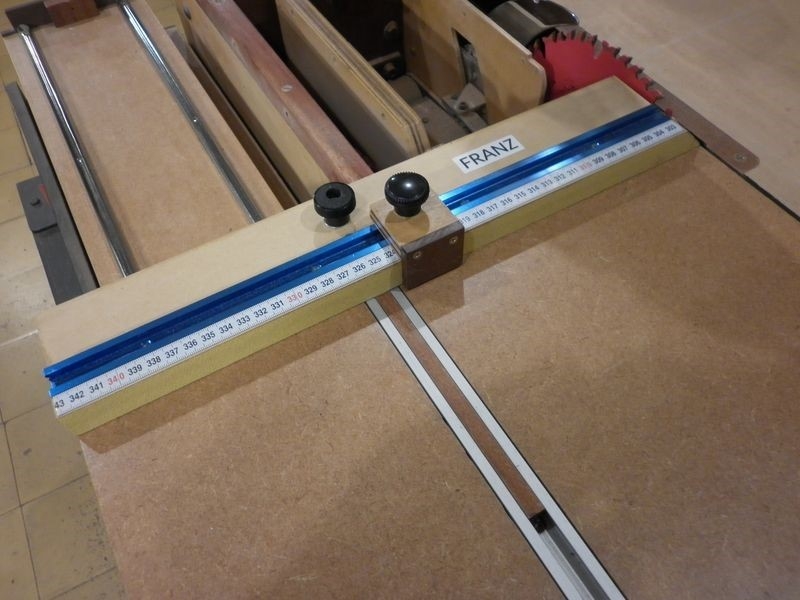
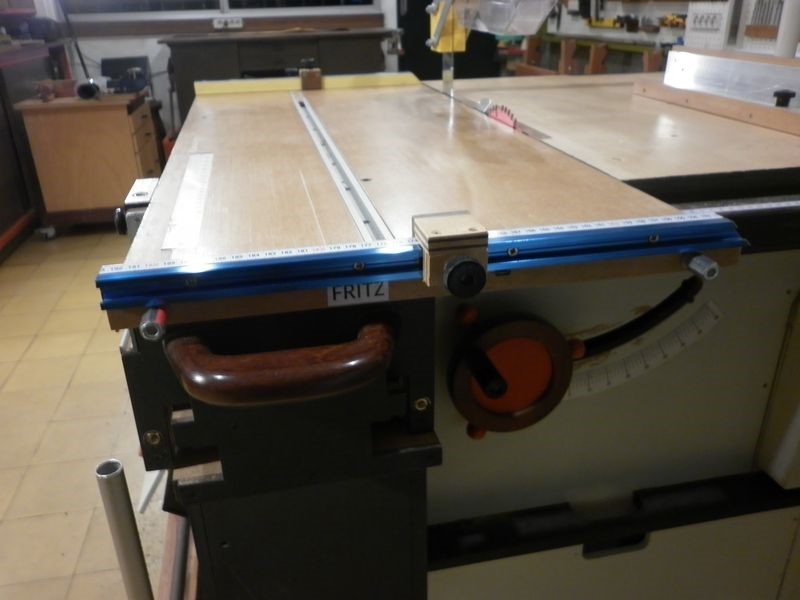
 Here is a view of the original layout of the Fritz & Franz jig. I have labeled both parts with their names.
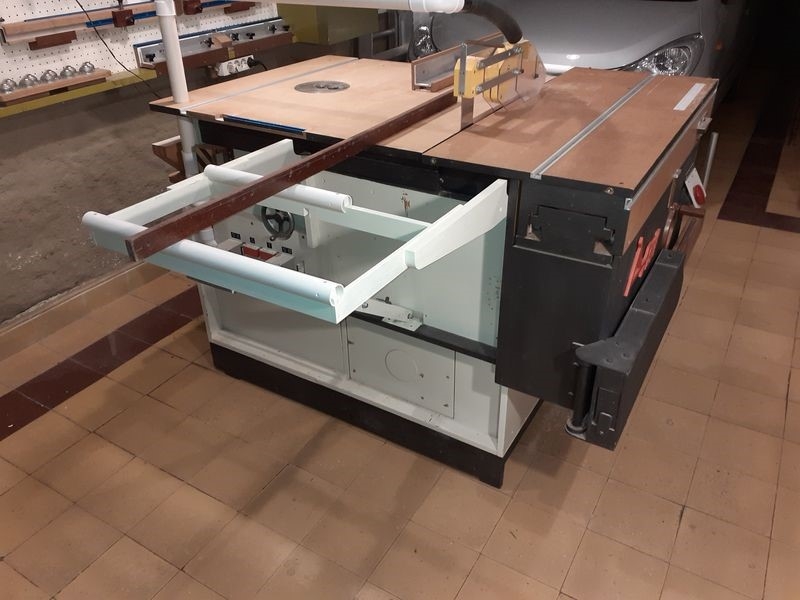
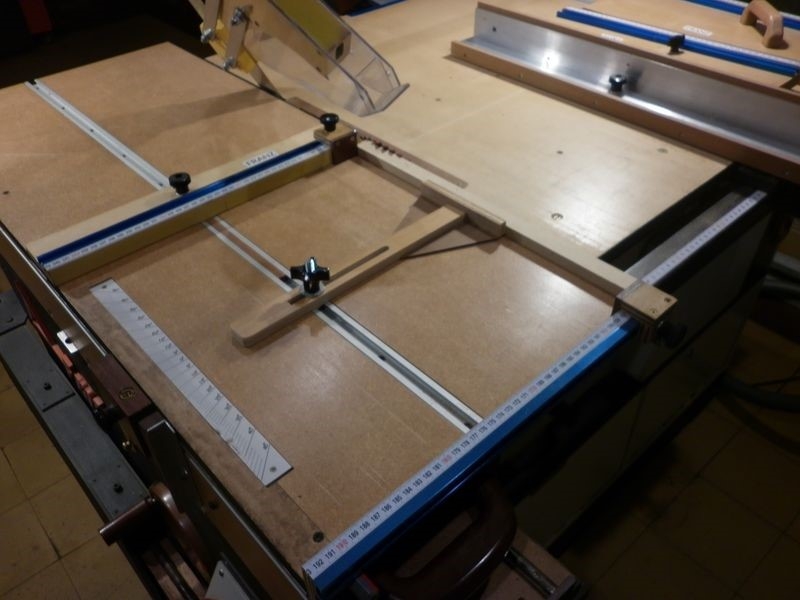
 This photo shows the modified jig which we call Extended Fritz & Franz. What we did was exchange the position of the parts so that Fritz is now fixed at the front of the Sliding Table. Franz goes now to the other side and maintains its mobility.
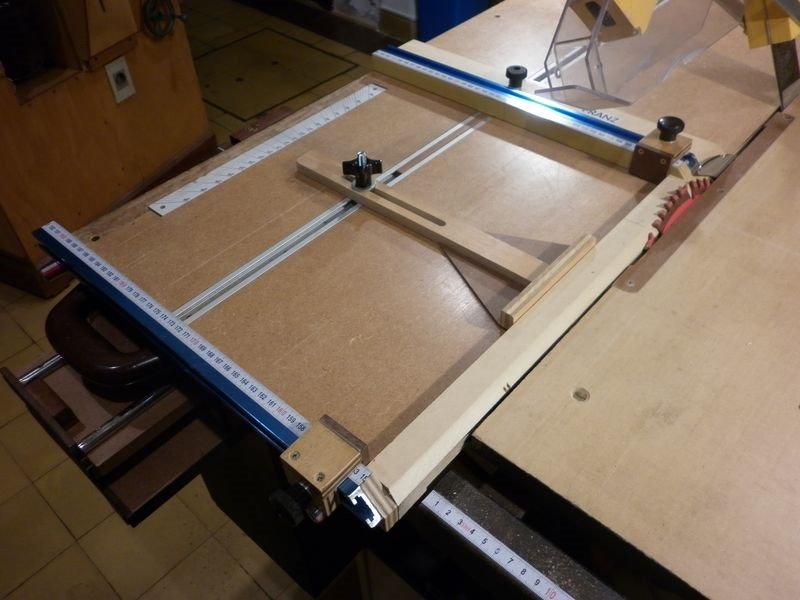
Here it is at the extreme back of the Sliding Table providing 93cm length of ripping capacity.
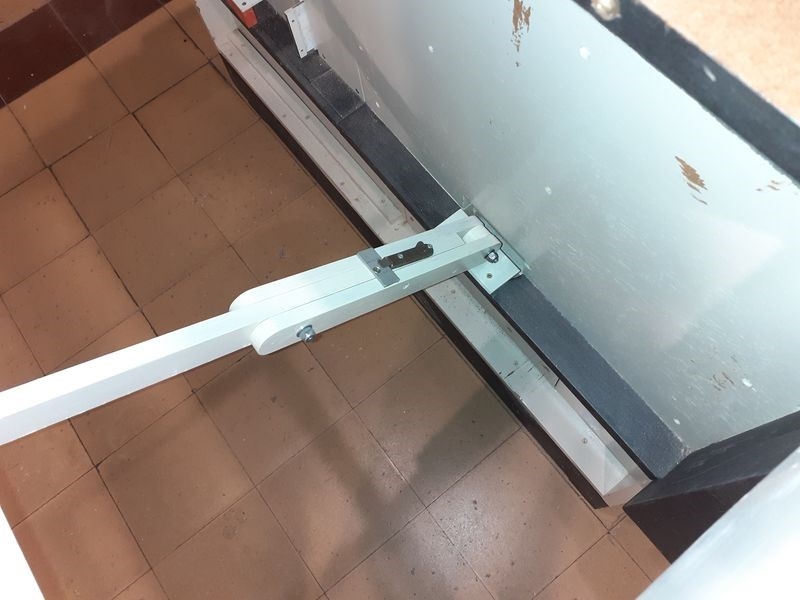
 A close-up reveals that the gripping end is just at the slot provided for the blade. Note that a lock-knob has been attached to Franz. This was necessary to trap and firmly hold the workpiece while pushing the Sliding Table by its handle at the near end.
 And here is Fritz firmly attached with two 8mm bolts into inserts at the near end of the Sliding Table. The bolts are short pieces of threaded rod with coupling nuts epoxied as knobs. Commercial knobs would not fit under the T-track. A piece of plastic tubing covers them providing a better grip. The tube was dipped in boiling water and force-fitted over the coupling nut.
 As an example, a 43cm long MDF strip was clamped and cut to 3cm width with the blade tilted to 30°. The adjustable center support keeps thin workpieces straight during the cut.
 Please note that the prototype saw blade tilts to the left. This is because its life started in 1997 from an American design. Therefore, this required that both Fritz and Franz have their right ends chopped to 45°. This is not necessary with the right-tilting blade as the FMT plans specify.
It goes without saying that the Sliding Table must be perfectly adjusted in order to obtain constant width rips. Also, both scales have to be carefully installed so that setting the stops at the same reading guarantees a perfectly parallel cut. The pictures show 100 grit sandpaper contact cemented to Fritz and Franz faces to ensure a firm grip of the workpiece. I found this unsatisfactory and will replace the sandpaper with high-friction tape which has better holding power. Lee Valley is also offering high-friction sheet that can be cut to suit various situations. This material is slightly spongy, a good trait that improves its holding power even more. As a parting note, if the Sliding Table of the FMT could be made longer, it will be possible to deal with equally longer material. However, there is no experience with a real prototype although we believe it could be done. Some users inquired about this possibility but we never went farther than a few preliminary drawings for a 1m50 long Sliding Table. Please contact us if you are interested in this option. | |
|
| |
| [ back ] |