Luc's Format Tablesaw - Part 2 | |
|
Luc Scholte van Mast wrote: Well, here I am, one and a half year after I first watched the introduction video for the AW-ThinkBold table saw and now the proud owner of one myself. It’s been a fantastic journey, and even now it’s still not finished. There’s the outrigger table, modifications I have in mind, some detailing to do, but it’s now a working saw and a very good one at that. There’s quite some things that I changed from the plans. Details can be found in the build-story that I did on the ibuildit-forum, but I’ll list some of them here once more:
Overall, the saw is relatively easy to build. The plans are very well laid out, and for a first ‘public’ version, recently updated to V3, it is quite amazing that there where hardly any mistakes or problems in building the saw. Some minor things, like a screw or bolt interfering with another part, some partial measurements that did not match to the total given length of a part, but reading and checking carefully and following the adagio: measure twice, cut once, I got everything cut, assembled and working. To finish this short write-up, there’s no price I can put on the enthusiasm, the ideas and suggestions and the open, friendly and often entertaining discussions I had on an almost daily basis with Héctor and André. Additional to the great saw I have now, I also added, what I consider, two very good friends in Europe and South America. Héctor, André, thanks a lot for a great journey!
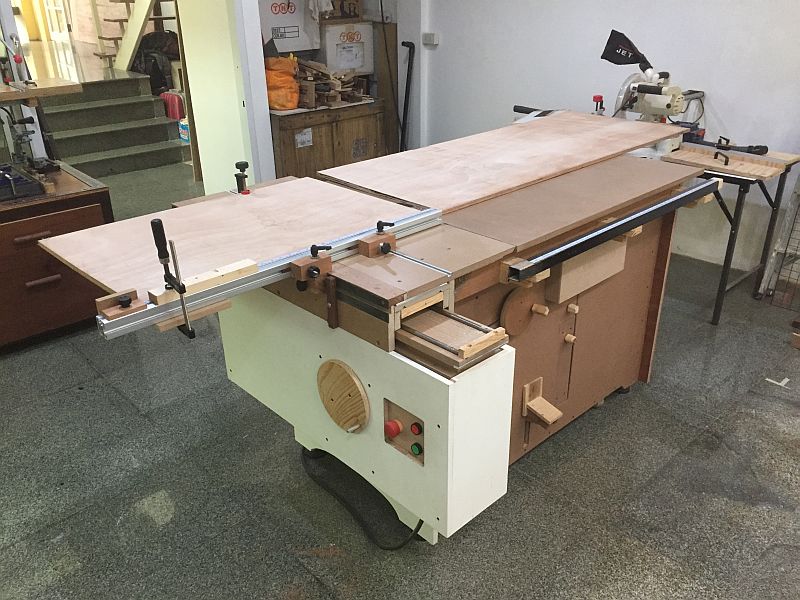 An overall view of the saw in its present state. Note the huge crosscut capacity. Luc enlarged the table on the right to get better support for large workpieces.
 A view from the front shows a differently shaped exhaust muffler to make room for accesories pull-out bins under it.
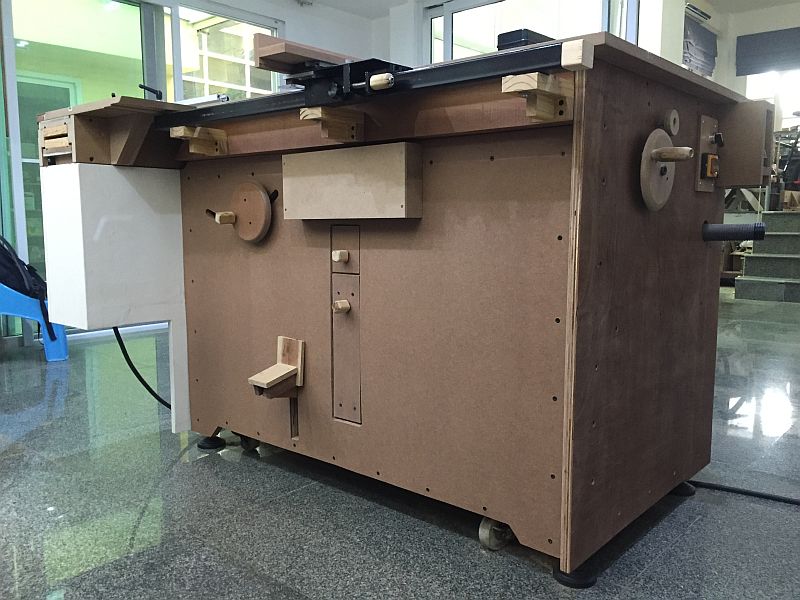
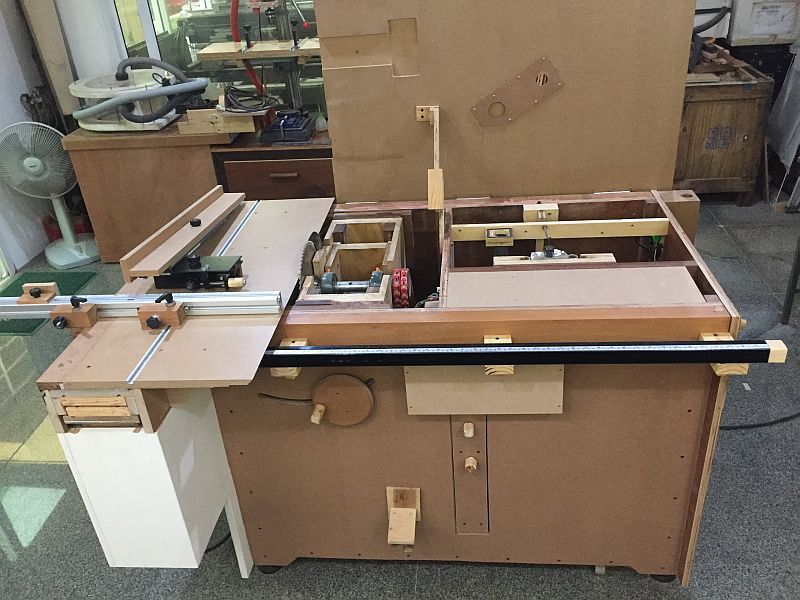
 A bird's-eye view shows the neat practical construction and hardboard cladding of the main cabinet.
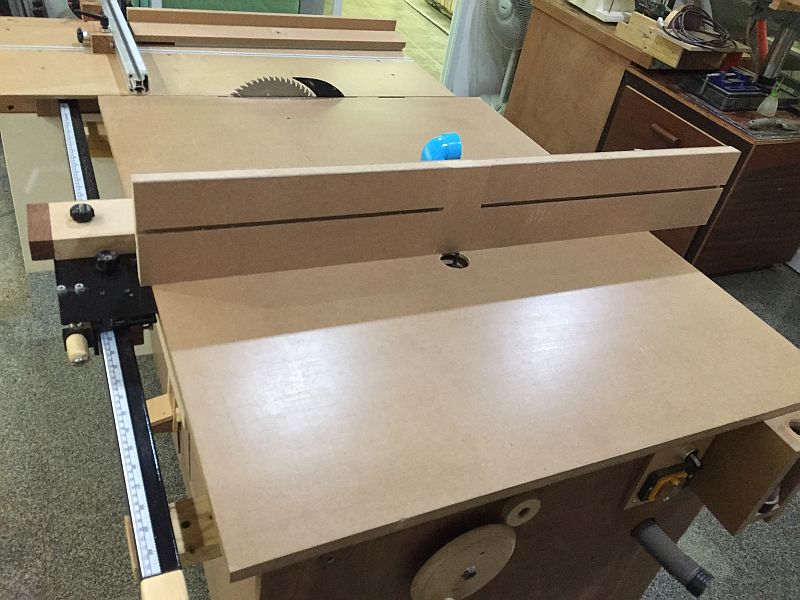
 The rip fence rail boasts a "soft end" wooden plug.
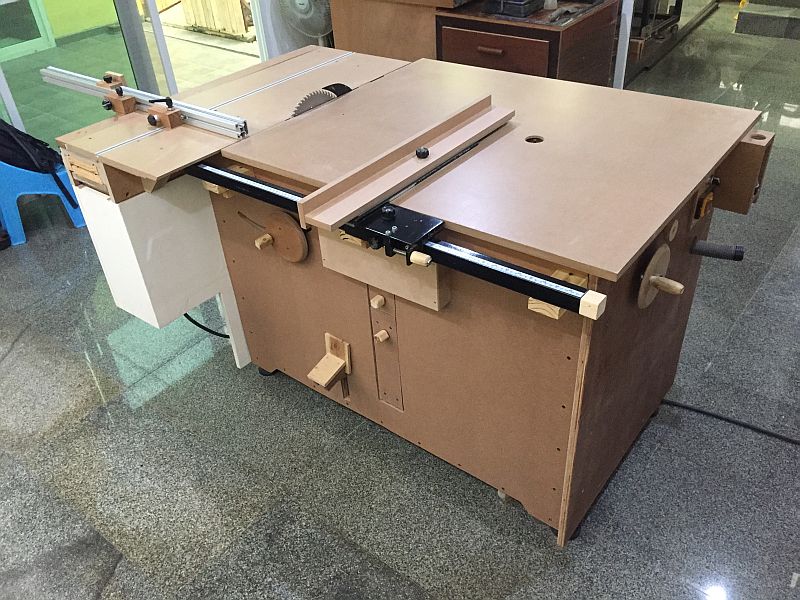
 The right-hand view enhances with white paint the all important sliding table.
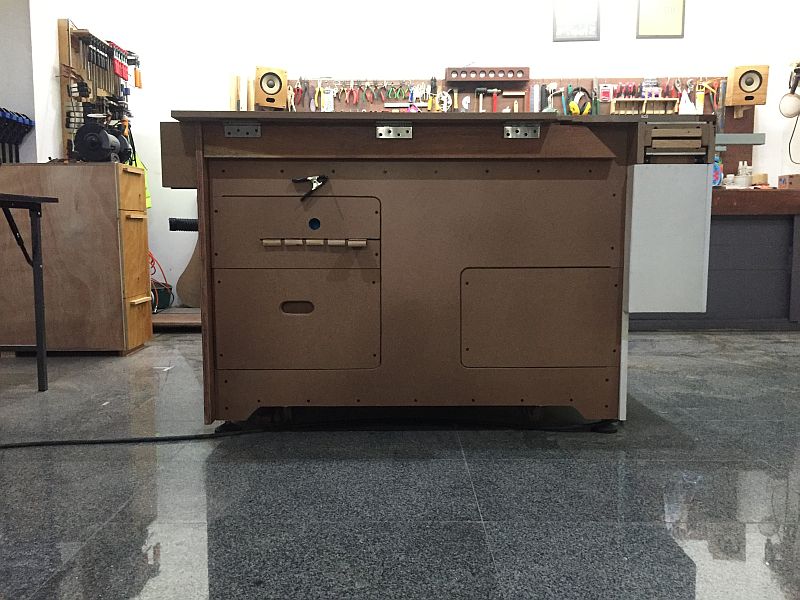 The back is also cladded with hardboard and also exhibits a neat look.
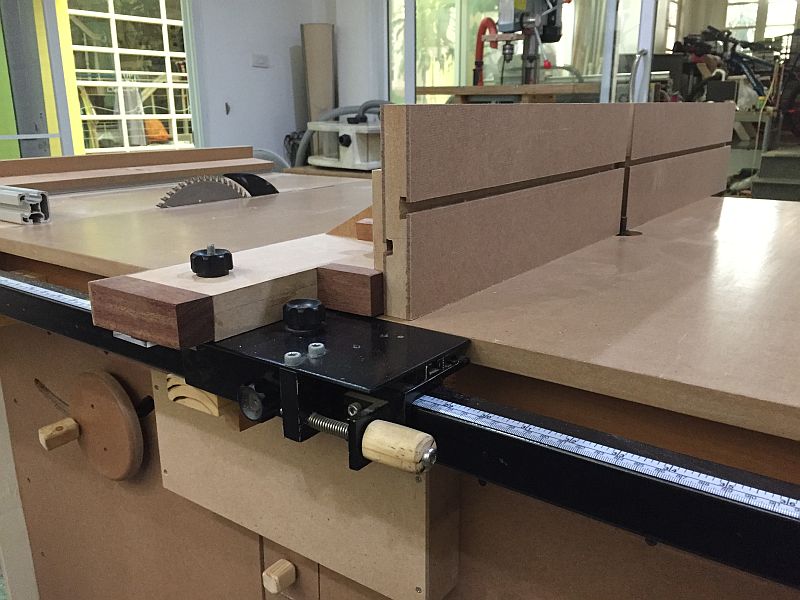 Close-up of the very well built and efficient micro-adjustable rip fence head. Here the saw fence has been exchanged for a router fence which also uses the same micro-adjustment mechanism. Its construction is based in our own design adapted by Luc to fit his rip fence head.
 The backside of the sturdy, adjustable router fence. This setup shows the external dust-pickup later supplemented with a very efficient under-the-table duct.
 Operator's view of the router table side. Note the controls below to raise and lock the bit. The fence has two sliding halves and allows the use of a fill-in block that may be shaped with the bit in use to avoid chipout.
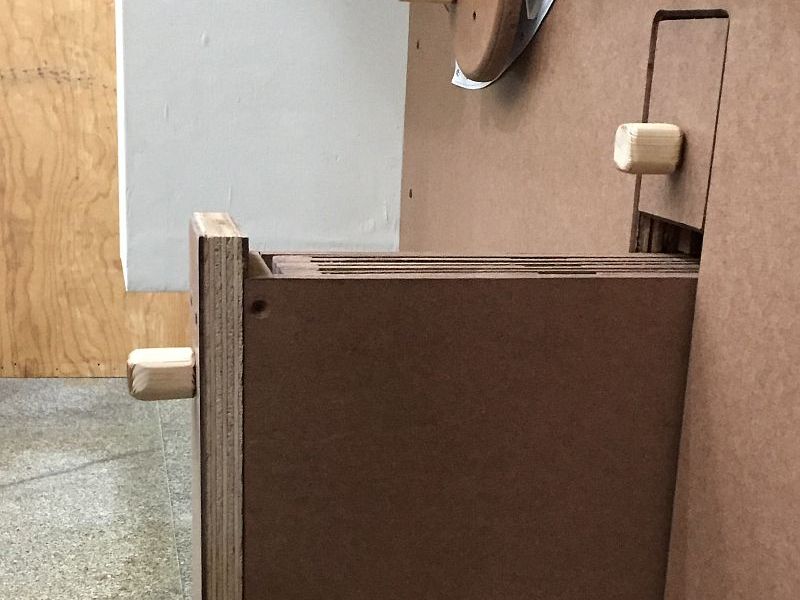
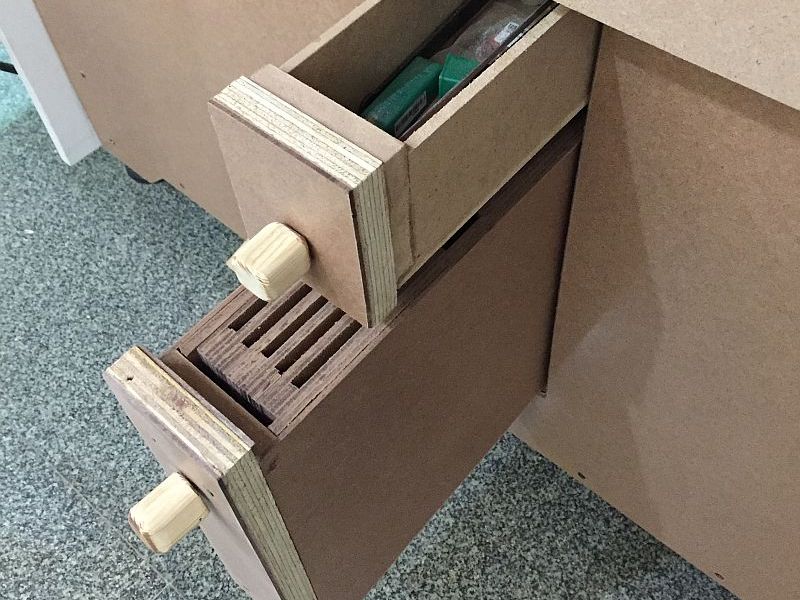 Widening the cabinet also provided enough space for a couple of pull-out drawers to store saw blades and router bits.
 Side view of the lower drawer. It holds five spare saw blades. The casettes can be lifted individually to choose the proper blade.
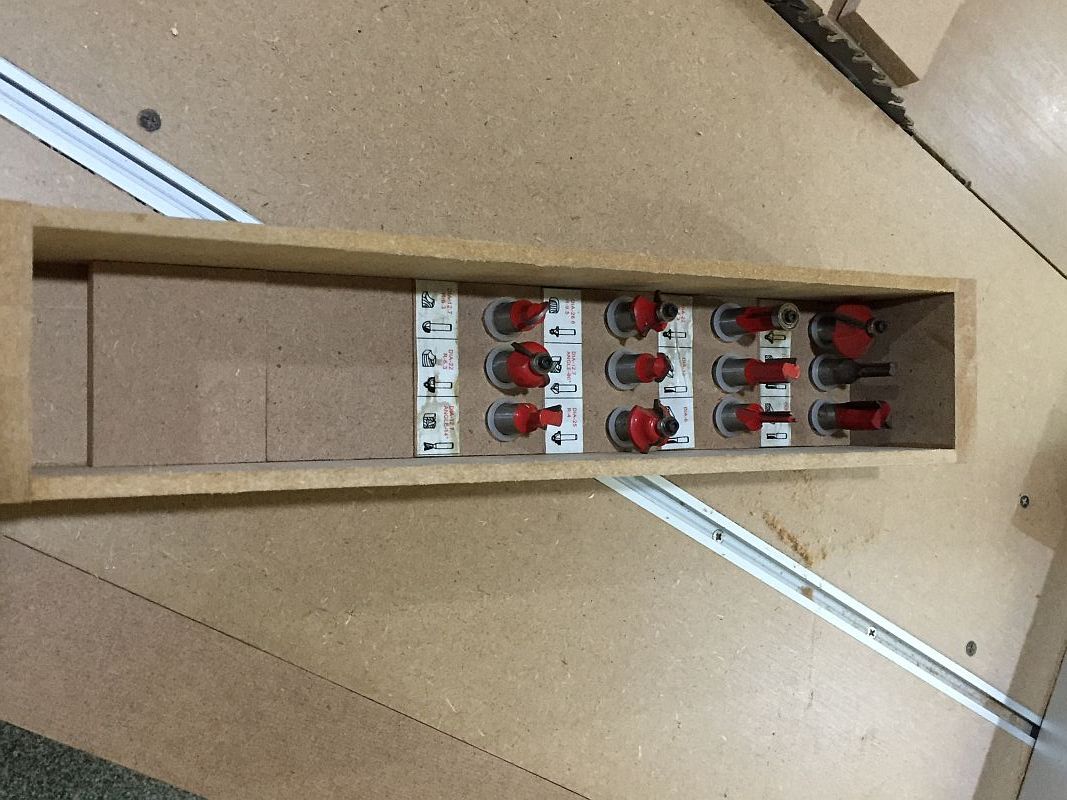 The upper drawer completely removed showing a selection of router bits.
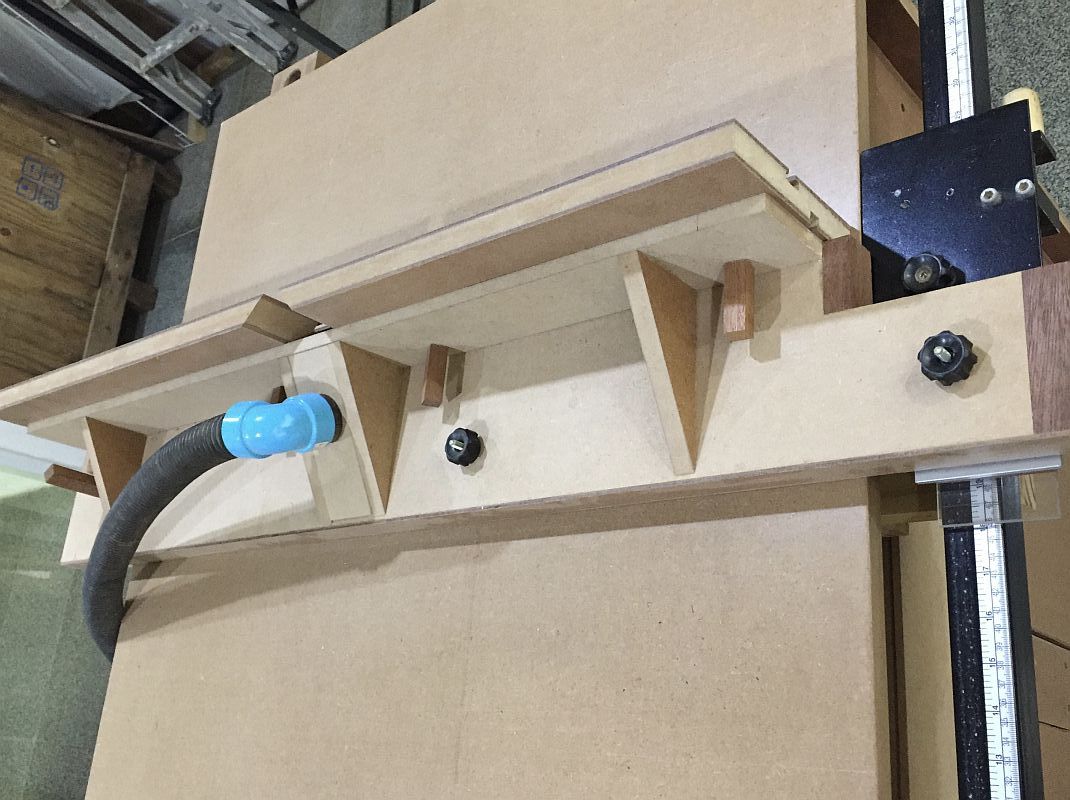
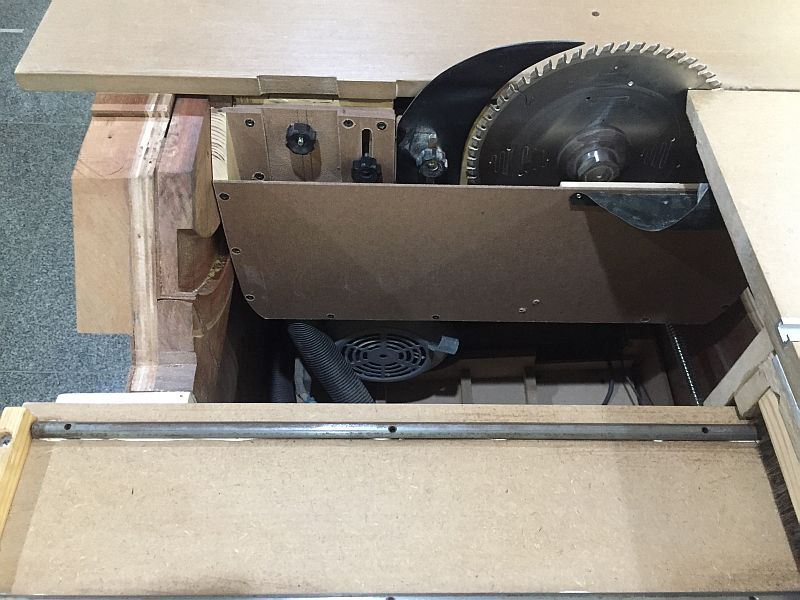
 The fixed table is mounted on hinges to provide access for the innards of the machine. It is held open with a strong stay just like the one André designed. Note the angled hardboard cover for a shallow duct that picks dust both from below the router bit. The left hole registers with the connection to the dust collector (the small box outlined with black weatherstripping).
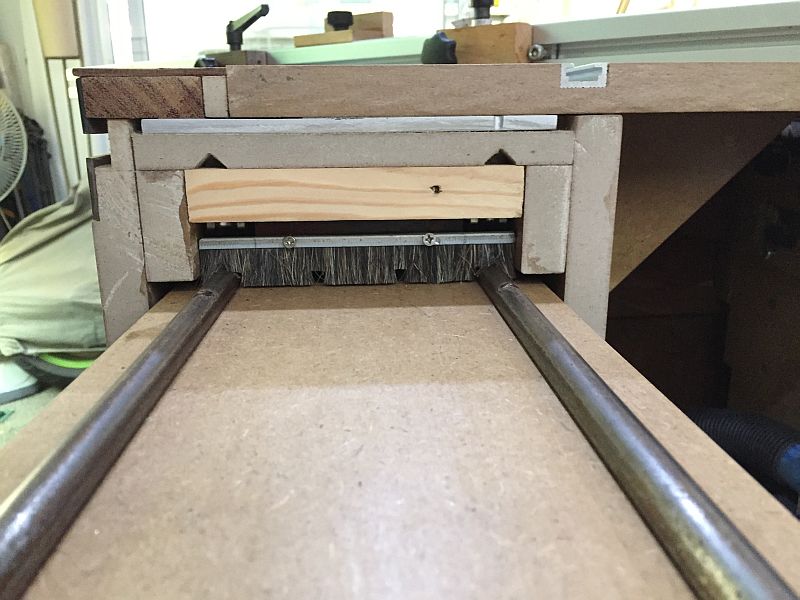 An end view of the sliding table showing the full length sawdust wiping brush (it came from a shop vac floor brush).
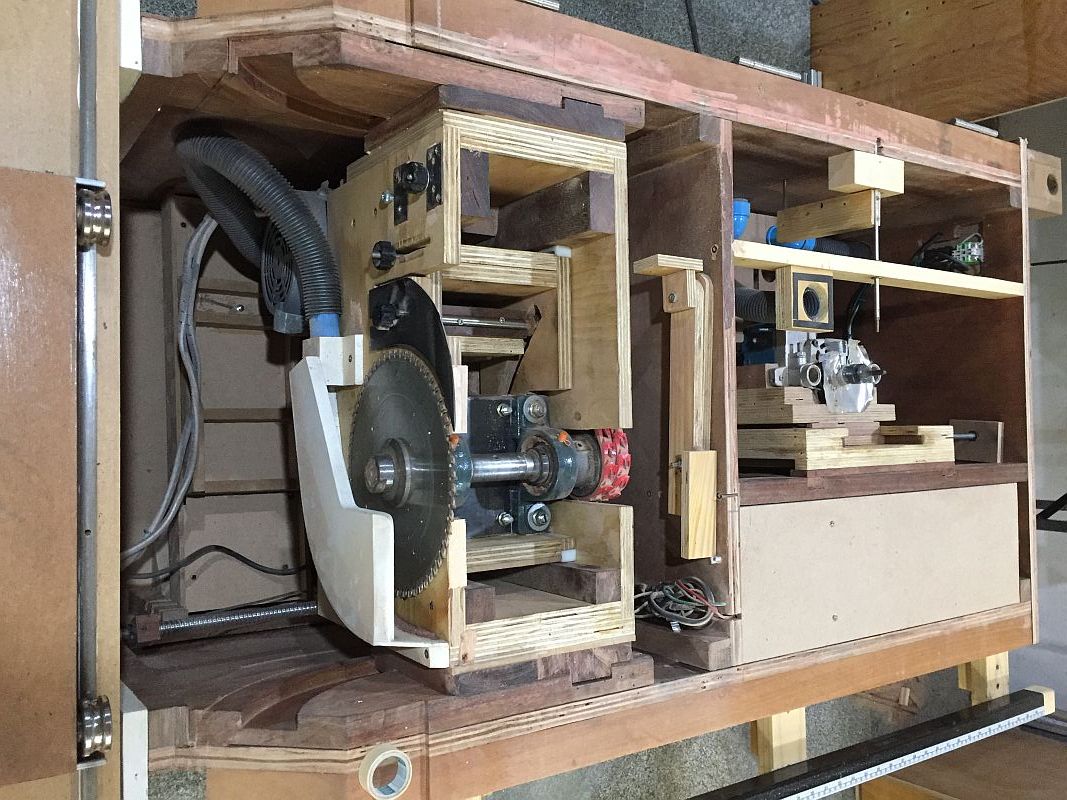 In this view both the sliding and the fixed table were removed. From left to right one can see: The motor cradle stored inside the cabinet, the original white blade hood, the power box mounted on hardwood trunnions, the stay for the fixed table attached to the division and the router installation alongside the vac motor and filter compartment. The long metal bar - when pushed towards the collet - activates the lock for bit changing.
 Yet another view with both tables installed.
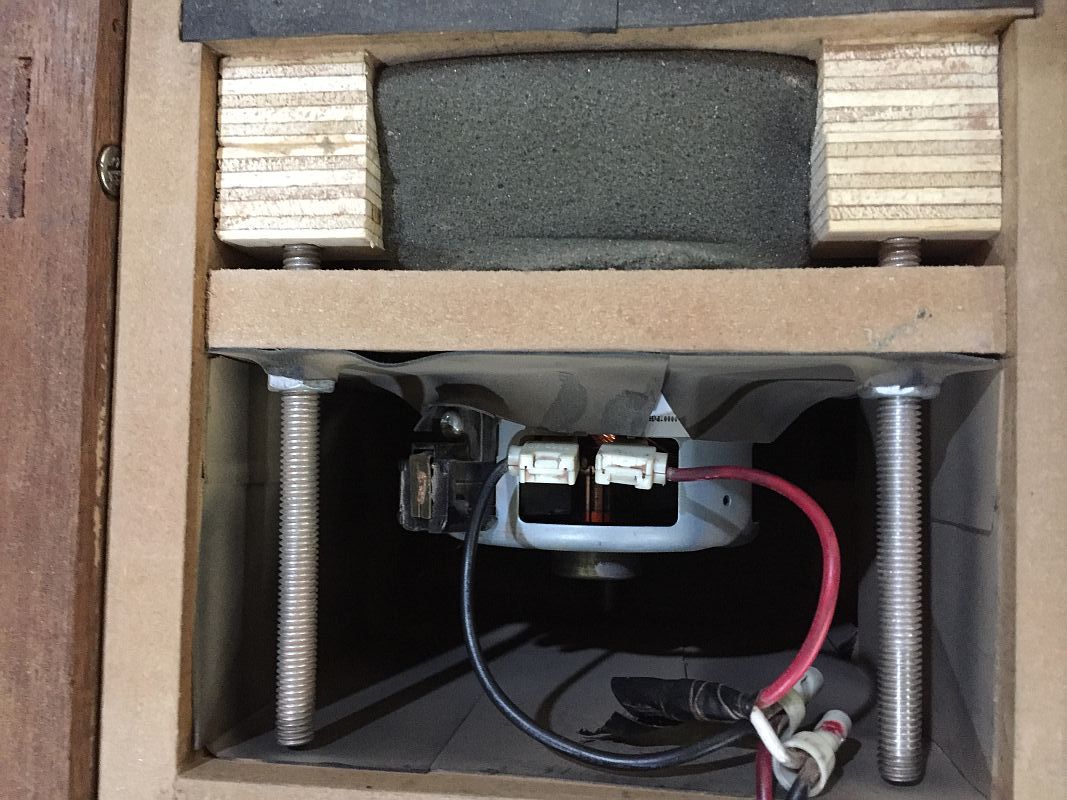 The vac motor, solidly mounted and covered with foam to mitigate noise.
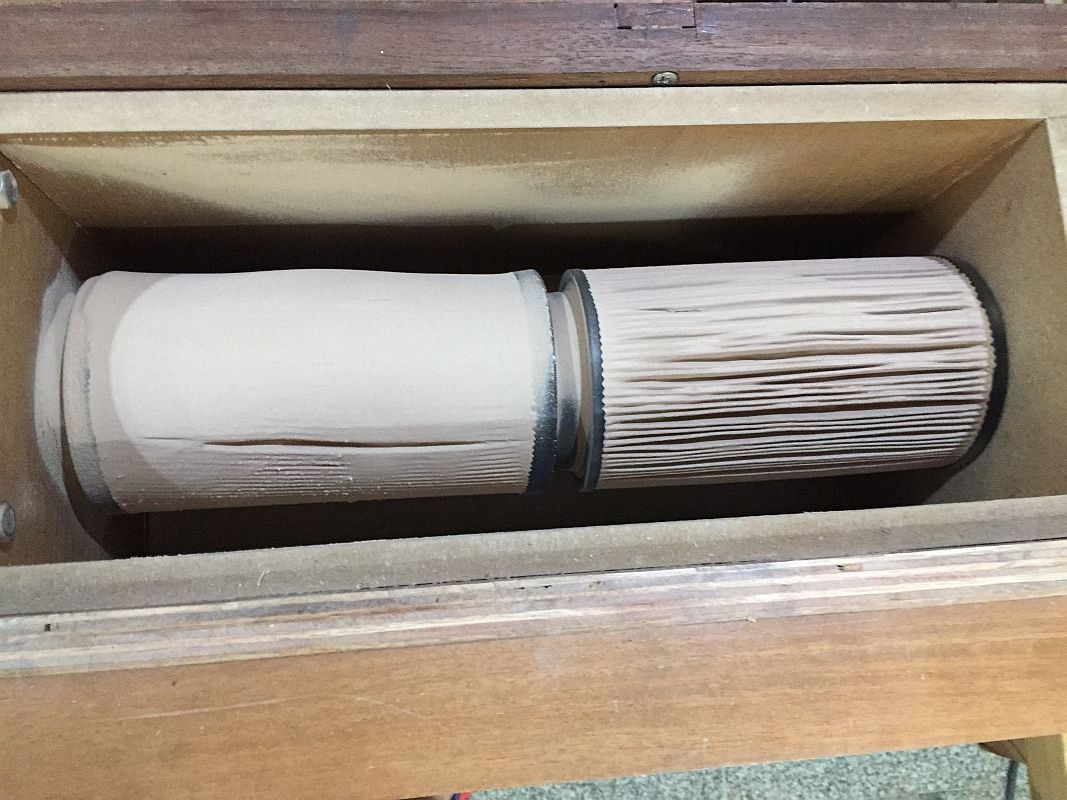 The wider cabinet also allowed the use of two filters instead of one. The left filter is due for some cleaning and attests the effectivity of the Thien separator.
 Luc has been successfully experimenting with a larger blade hood that protects the trunnions and catches more sawdust from under the table.
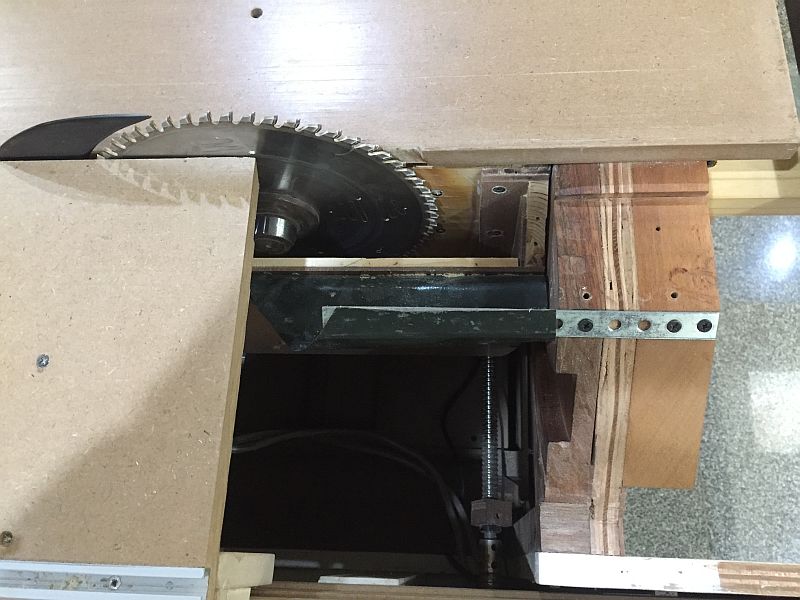 He added a rubber shield at the front to channel stray sawdust near the area where the actual cutting happens.
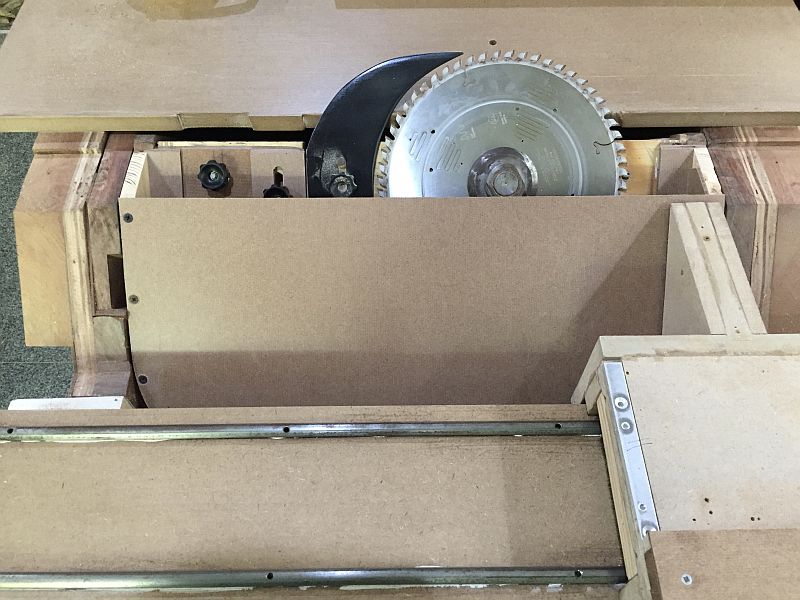 Another view of the installation before adding the rubber shield.
 With the cover removed the inside shows a much longer funnel to direct sawdust to the pickup.
| |
| [ back ] |