Steven Zhang's Sliding Table Attachment | |
|
We recently came across an extremely interesting usage of the Sliding Table designed for our Format Table Saw. We actually had considered such attachment as a future project but had postponed it to a future date. Steven Zhang is a Chinese woodworker now living in Australia and has built a very neat Sliding Table for his Bosch Benchtop Saw Model GTS-10. To showcase his work he also produced six videos which describe it in great detail. Find the Introduction in YouTube at the following LINK. This first page will let you find the following four on the construction of the Attachment and a sixth one with a Fence he designed for it. The construction videos offer an excellent insight of the finer details of the construction of the Sliding Table of the Format Table Saw. They are an extremely helpful complement to the plans and instructions we provide. We are very proud that our creation has served as inspiration for such a young talented colleague. The attachment is an exact duplicate of the original, adapted to mount on a particular saw. Of course, to avoid modifications to the metal table, the sliding table is narrower and does not run against the saw blade. Mounting has been adapted to fit the existing shop-made cart of the machine. All in all, a commendable addition to a smaller existing saw, impeccably constructed and well thought. NOTE 1:Although Steven used a lathe to fabricate the Floating Carriage axles as well as for the Retaining Wheel Mounts, we hasten to add this is not essential. The upcoming V3 of the Format Table Saw Manual includes alternatives to build those parts without requiring lathe-work.NOTE 2:If you are interested in building the Sliding Table Attachment for your own Table Saw (Bosch, Dewalt, Makita, Metabo...) click on this LINK | |
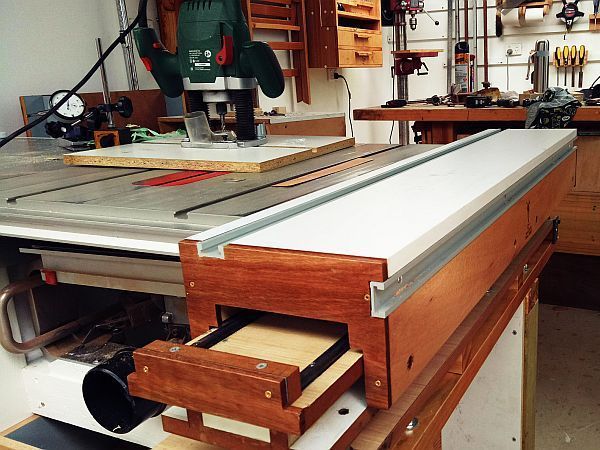 A view of the finished Attachment installed alongside a Bosch GTS-10 Table Saw.
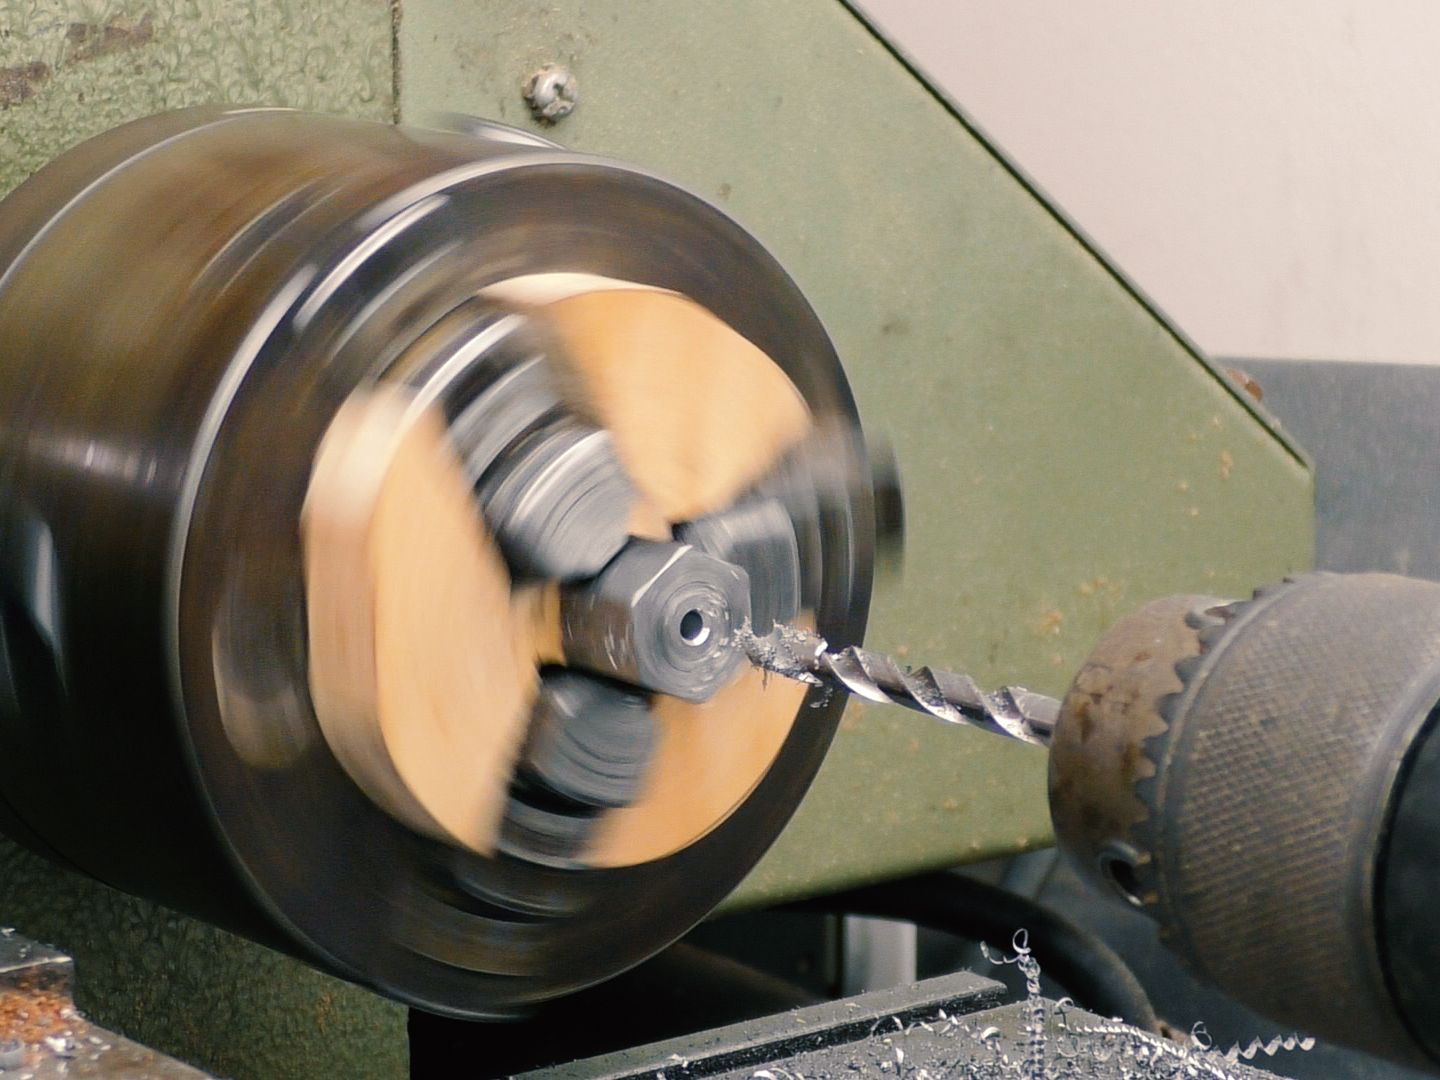
 Steve is an accomplished lathe-turner. Here he is preparing one of the axles for the Floating Carriage.
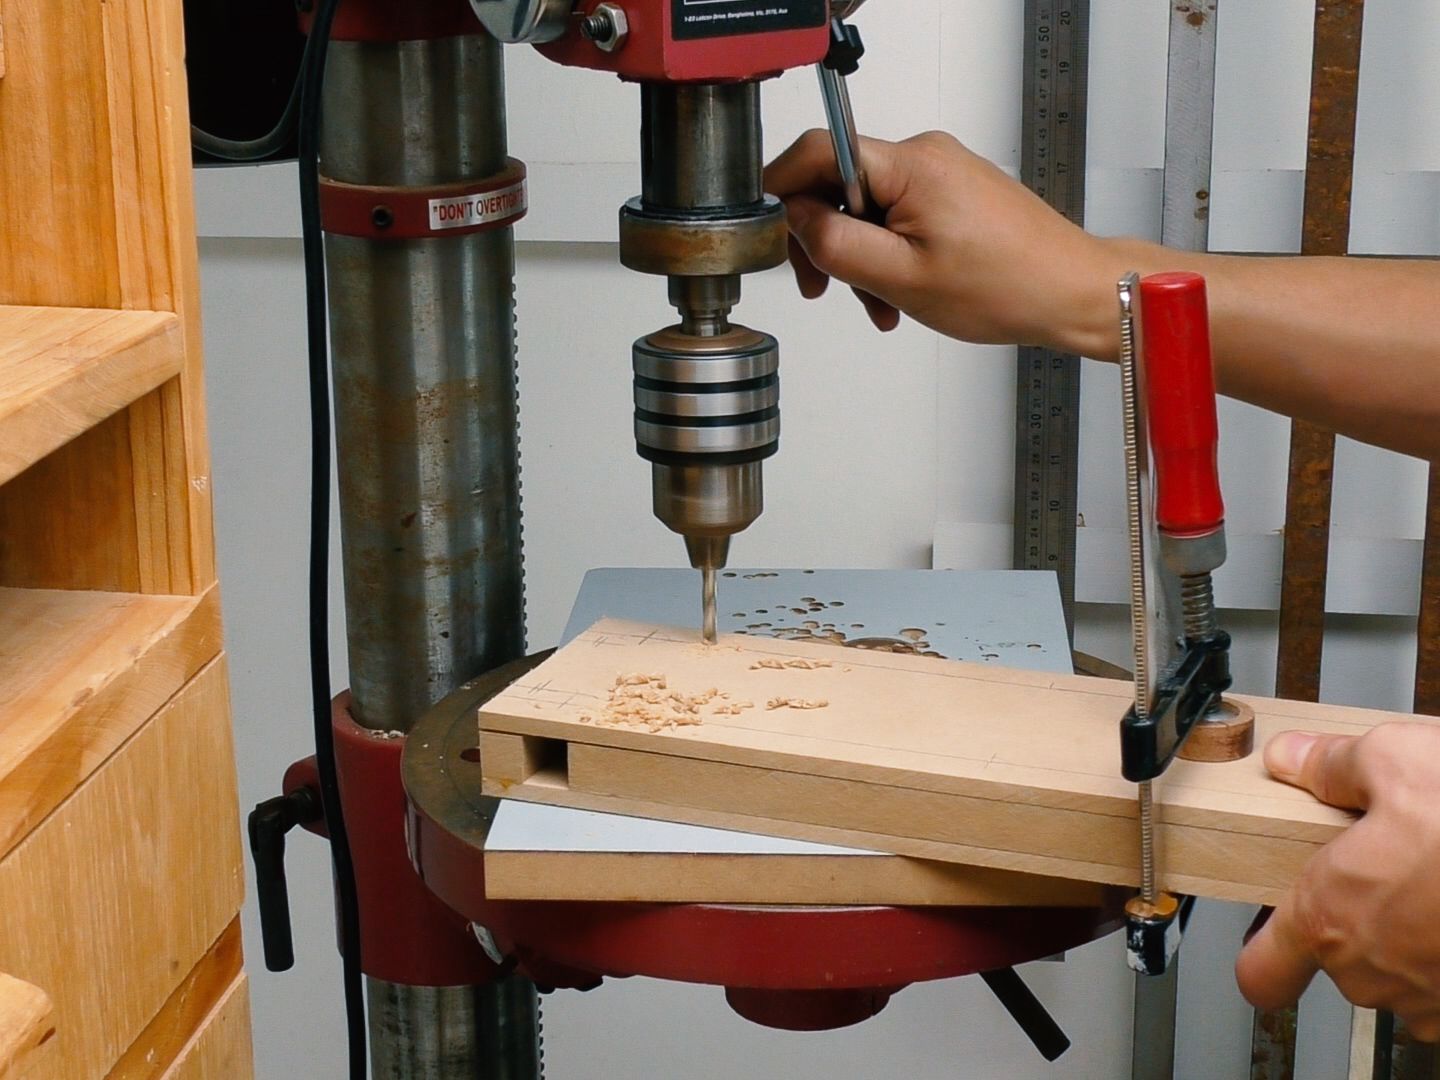 Drilling assembly holes for the Floating Carriage.
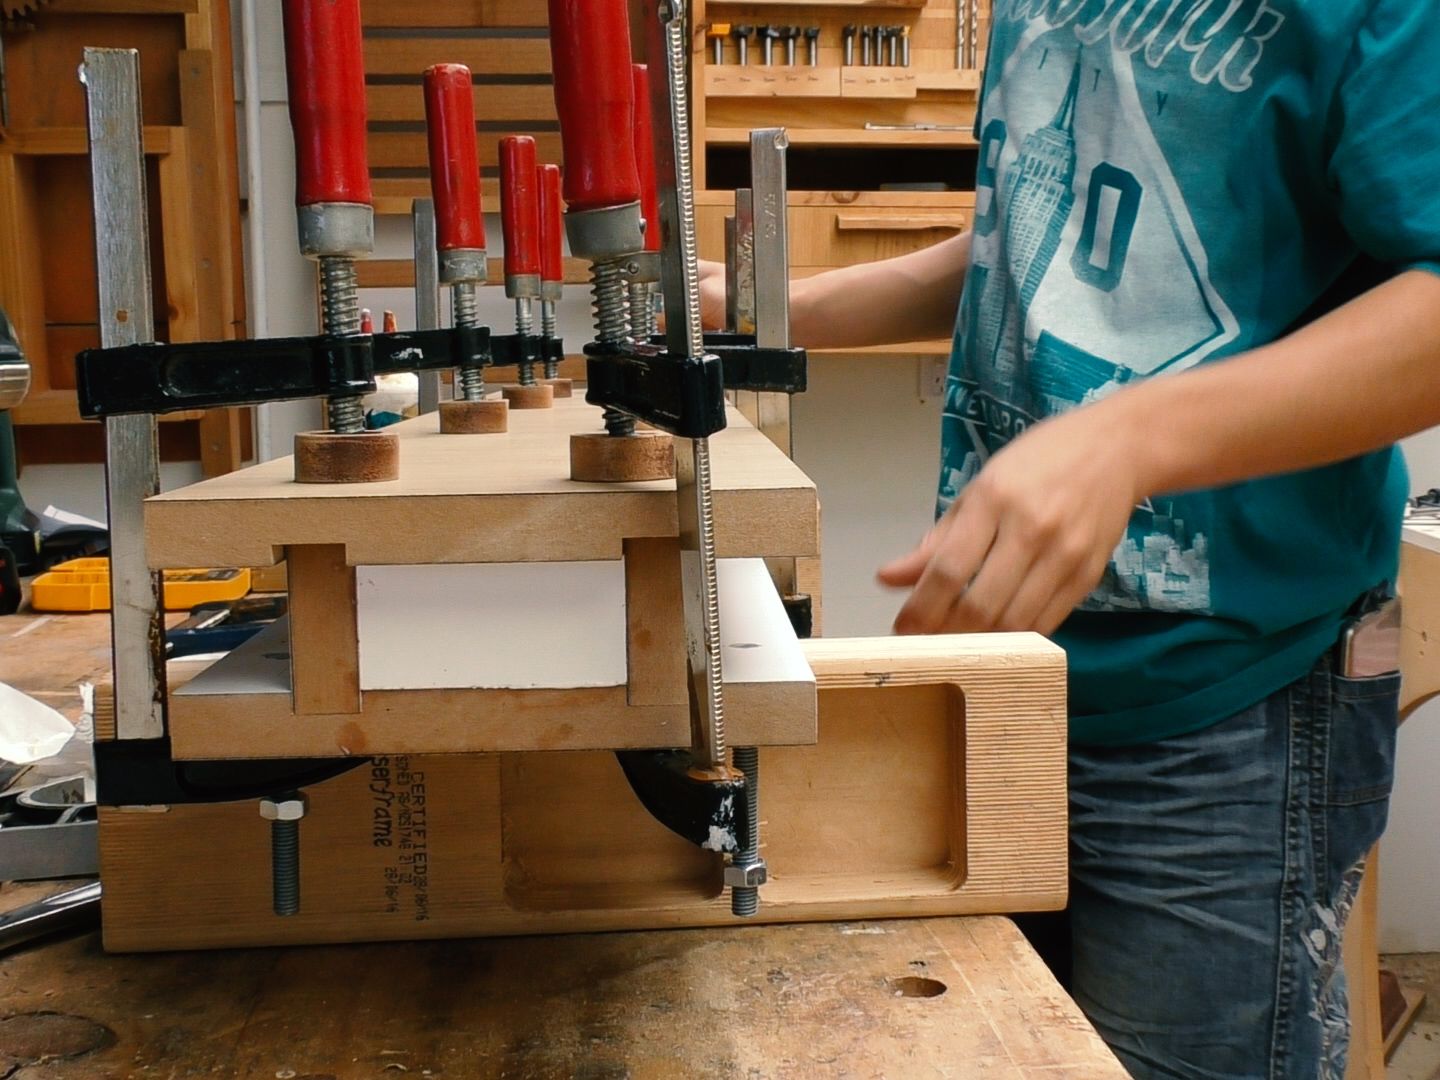
 An easy way to install the V-grooved wheels on the axle is pressing them in place with a workbench vise.
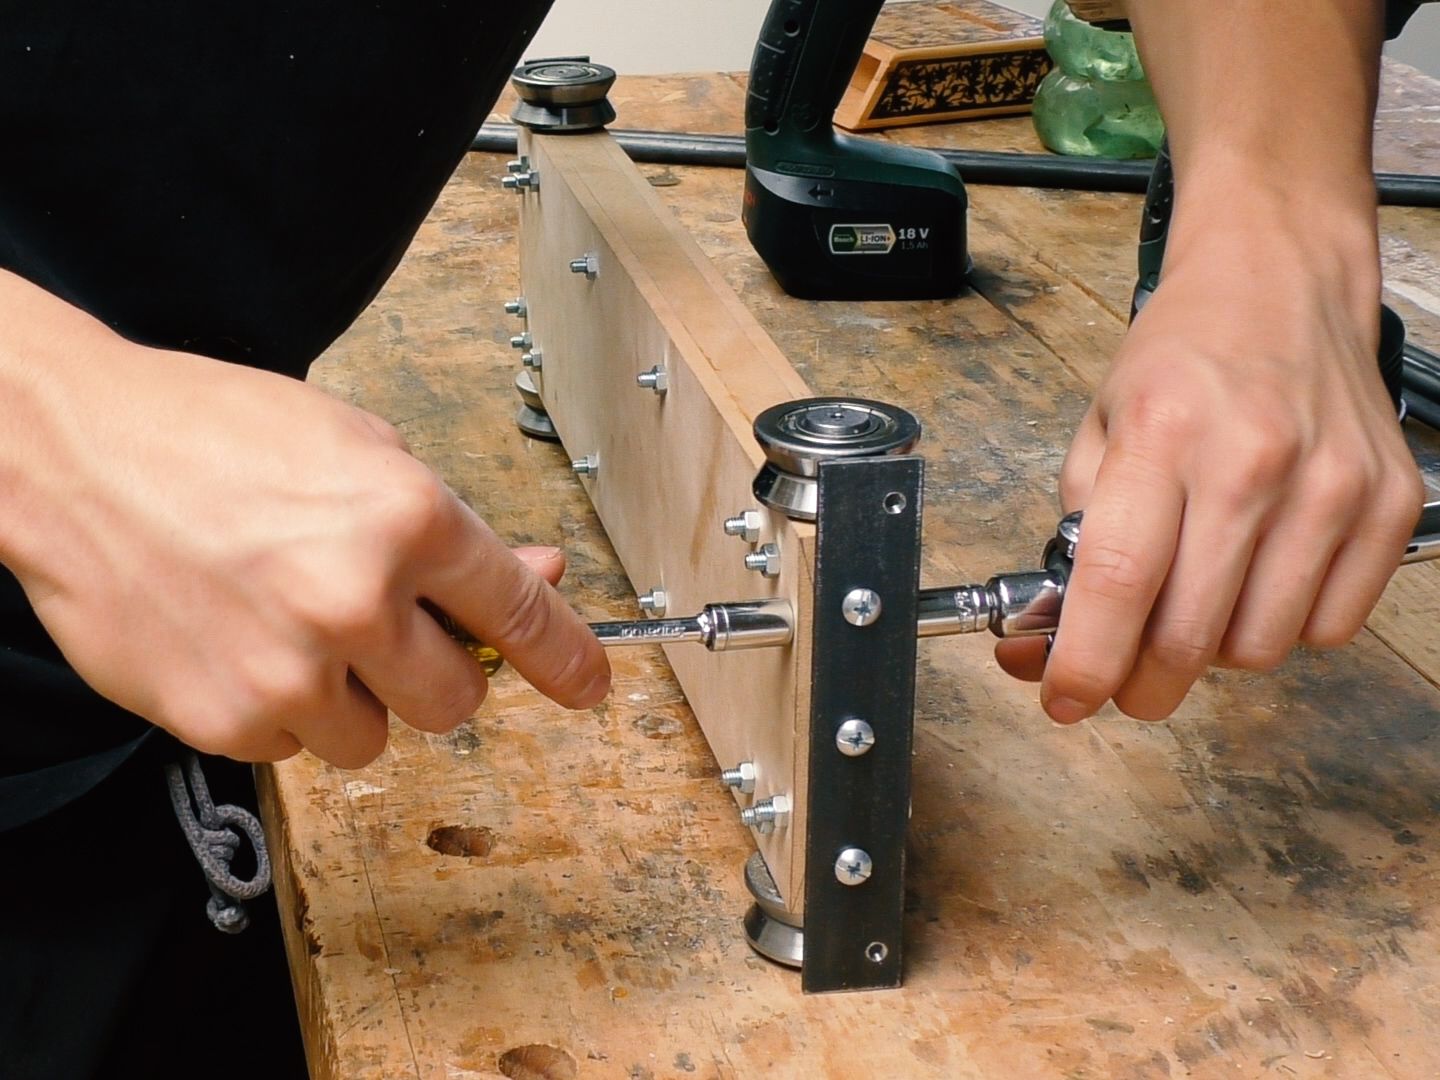 The Floating Carriage is nearly finished. Tightening the screws with the suitable tools.
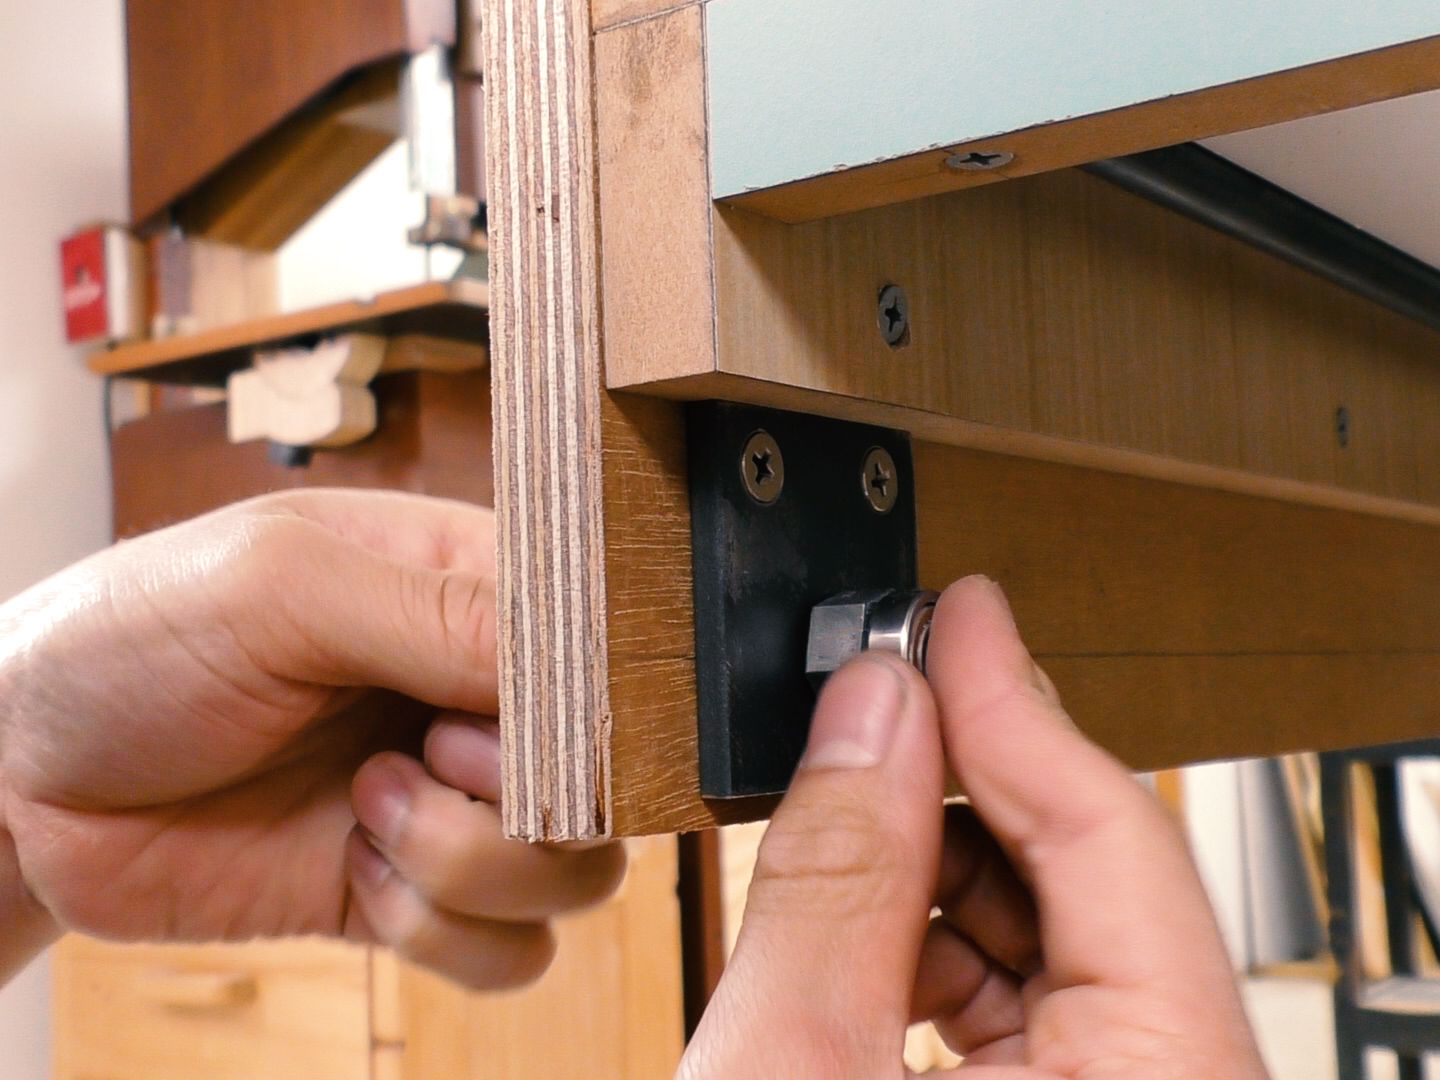
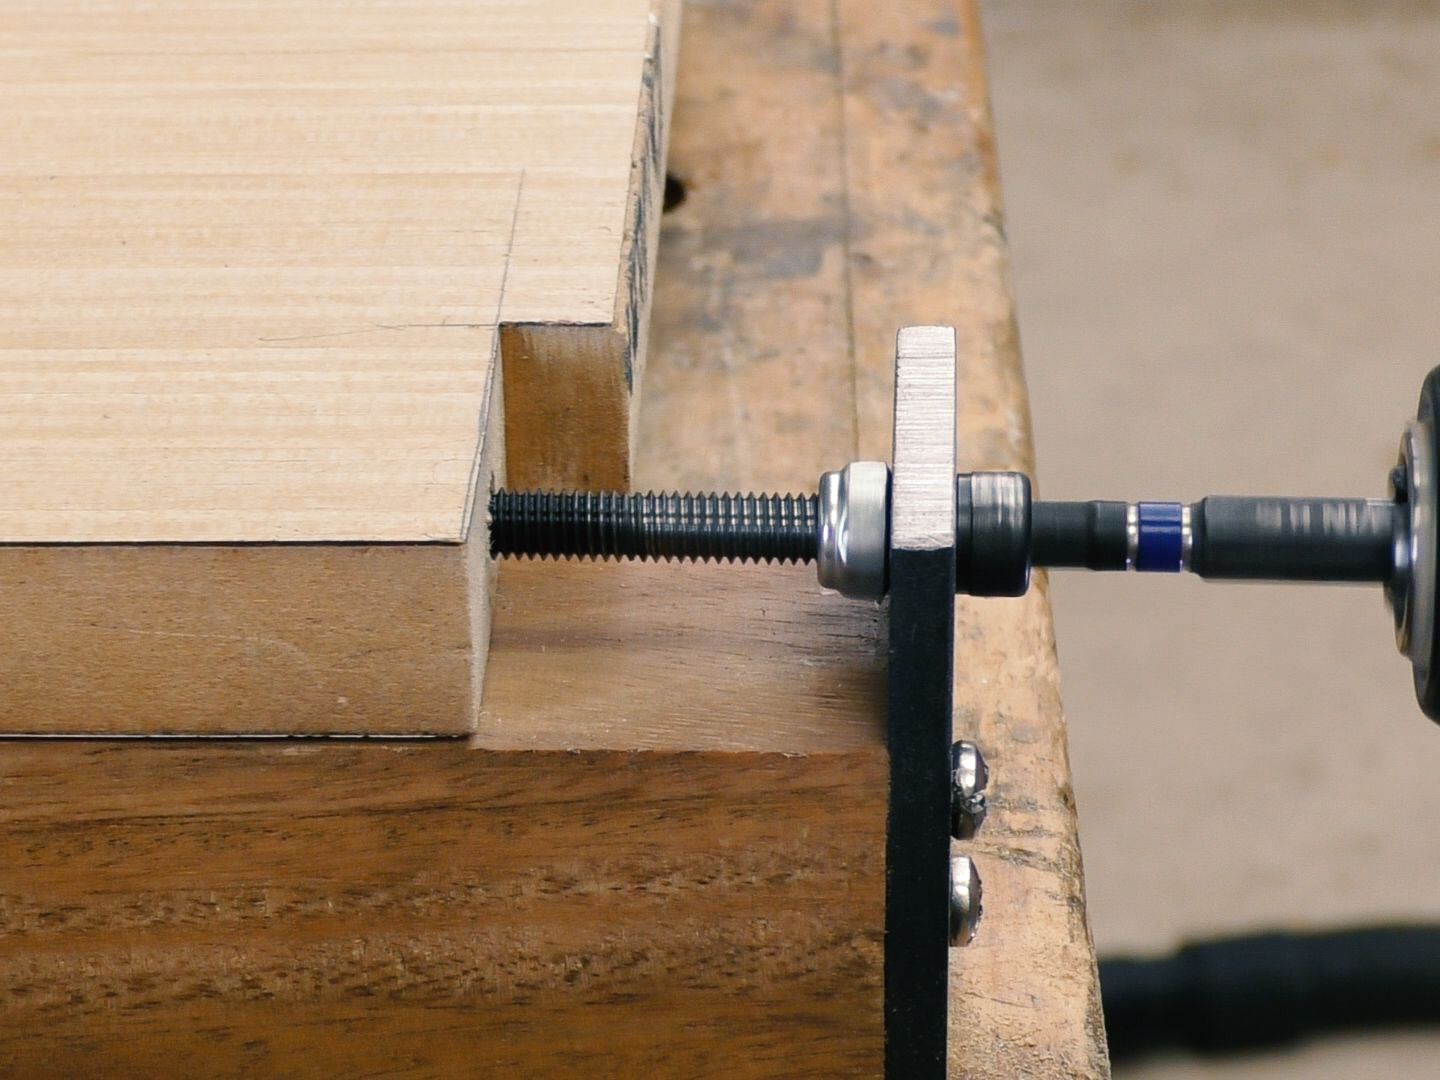 A close look at the adjusting screws at both ends of the Main Base. Steven used Nylocs instead of circlips.
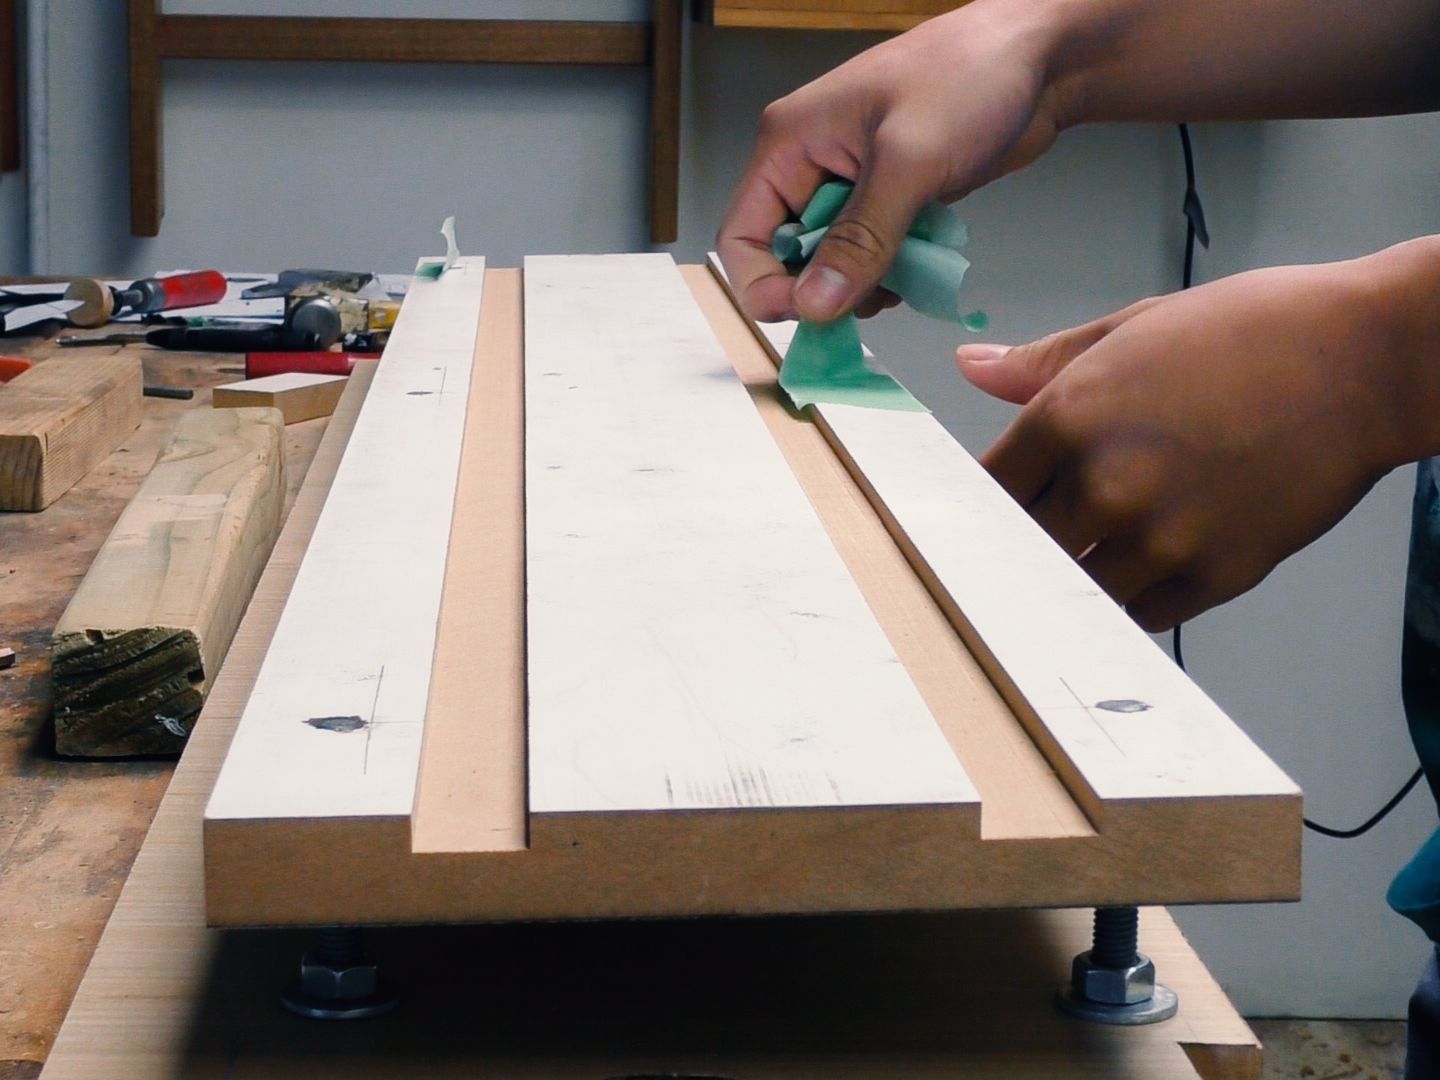 This is Part B of the Lower Track set upon the Main Base (Part A). Steven glued the six supporting screws with epoxy and used tape on top to avoid overflow.
 Spacers D, crosspieces and Part C being glued in place to complete the Lower Track assembly.
 Routing the V-grooves for the Lower Track rails.
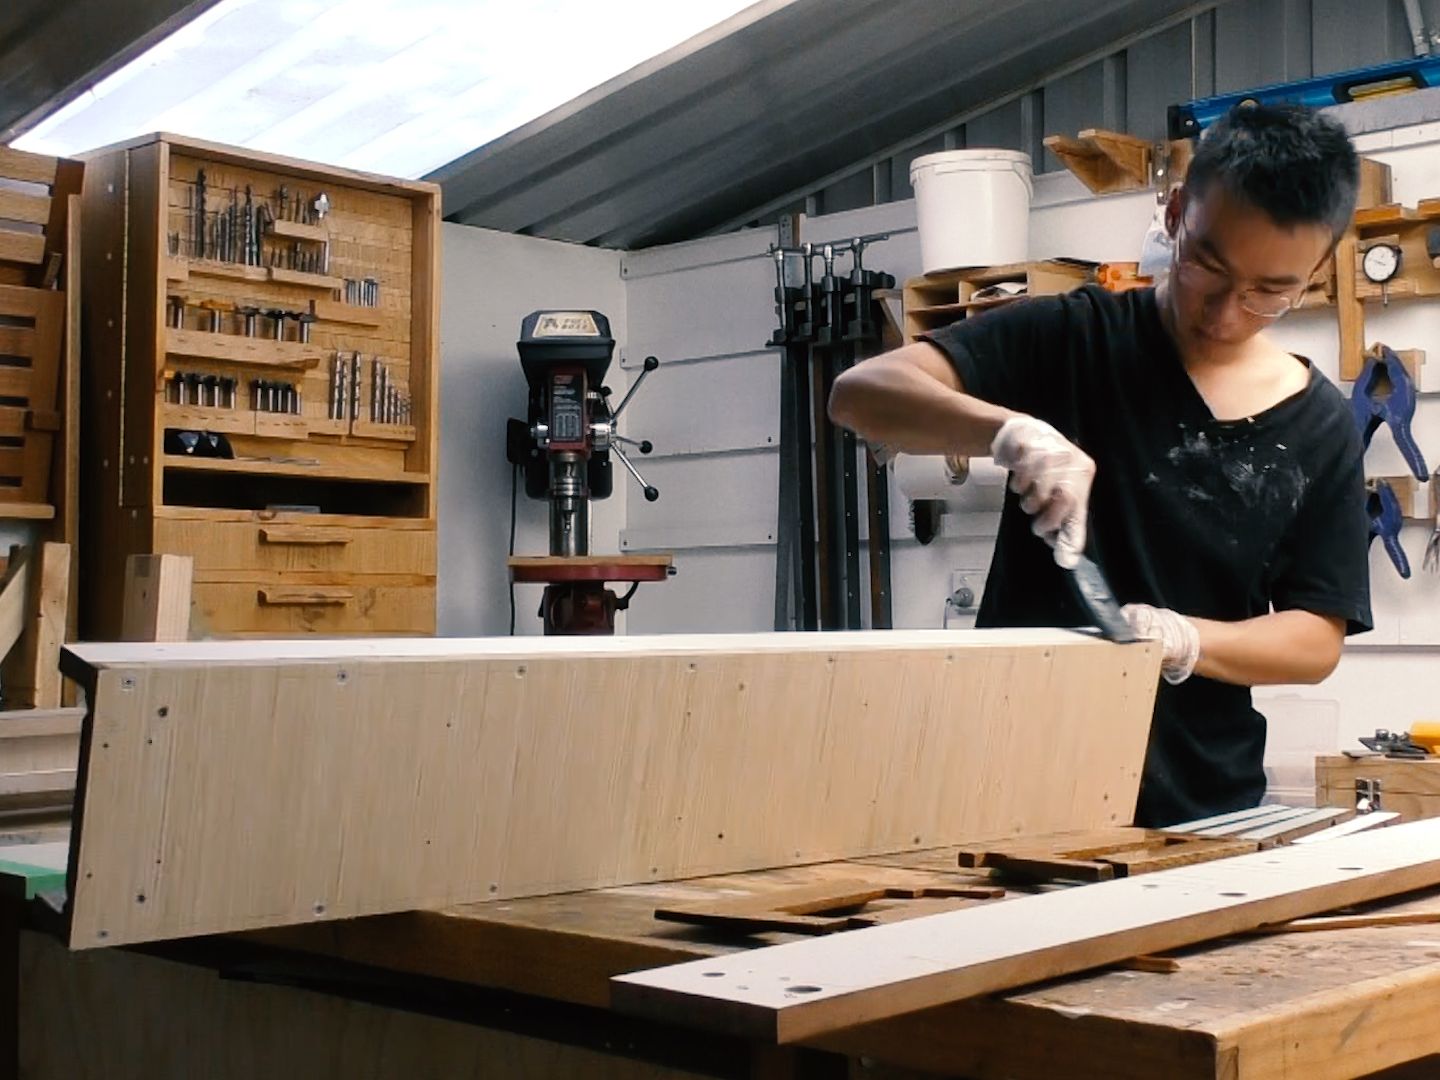
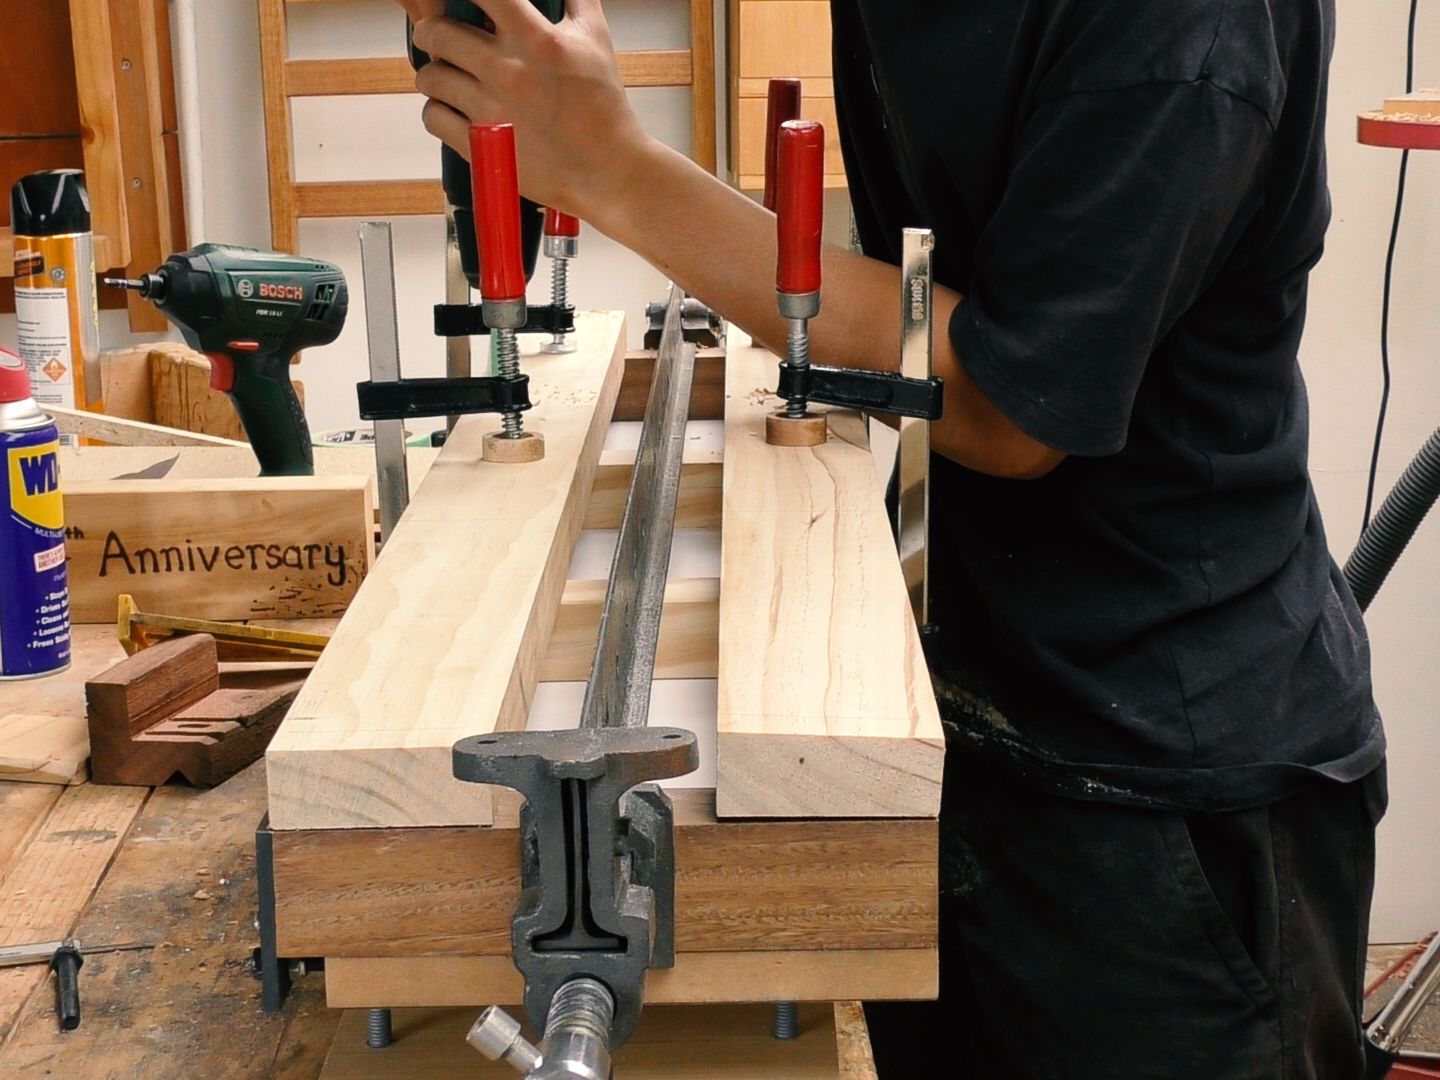 A strongly reinforced base under construction. This was designed to provide a firm support for the Sliding Table Attachment. It will be installed at the left side of the existing cart that Steven had previously constructed for his table saw.
 Turning the Retaining Wheels Mounts from hexagonal bar...
 ...and drilling the eccentric holes for the ball bearings.
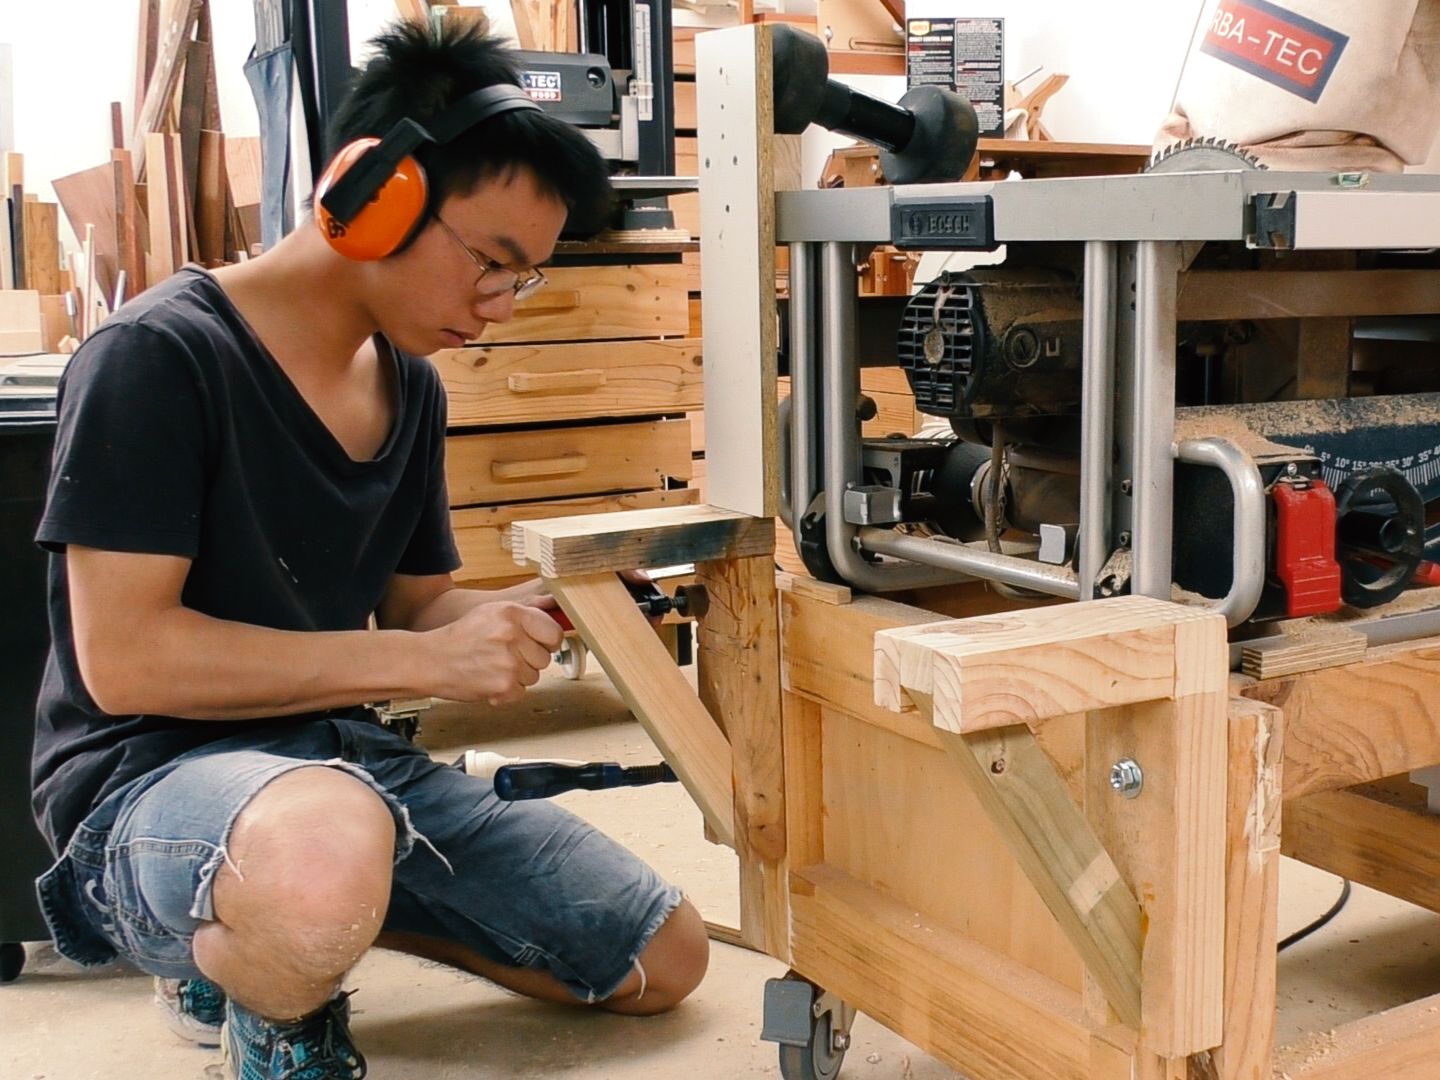 Here Steven is bolting two very hefty squares to the cart's left side. They will support the Sliding Table Attachment when finished.
 An underside view of the Upper Track assembly. Here Steven is adjusting a Retaining Wheel to obtain a good contact against Part C.
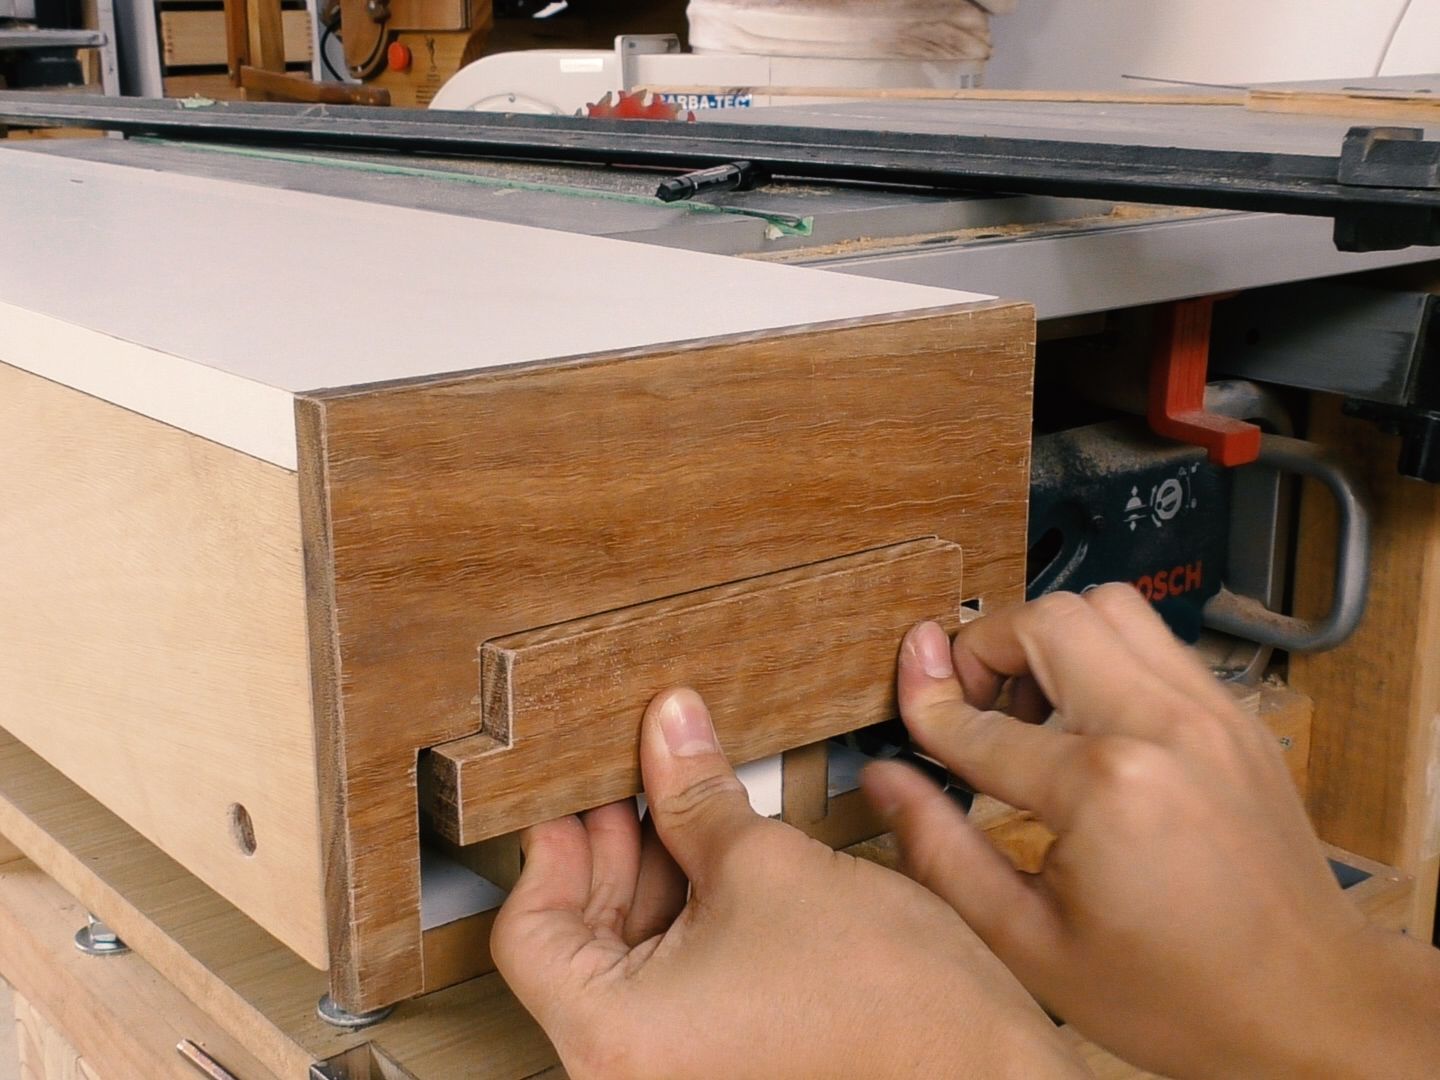 The End Covers being set in place. They protect the inner working parts of the Sliding Table and provide a nice finishing touch.
 The Upper Track unit on its finishing stages.
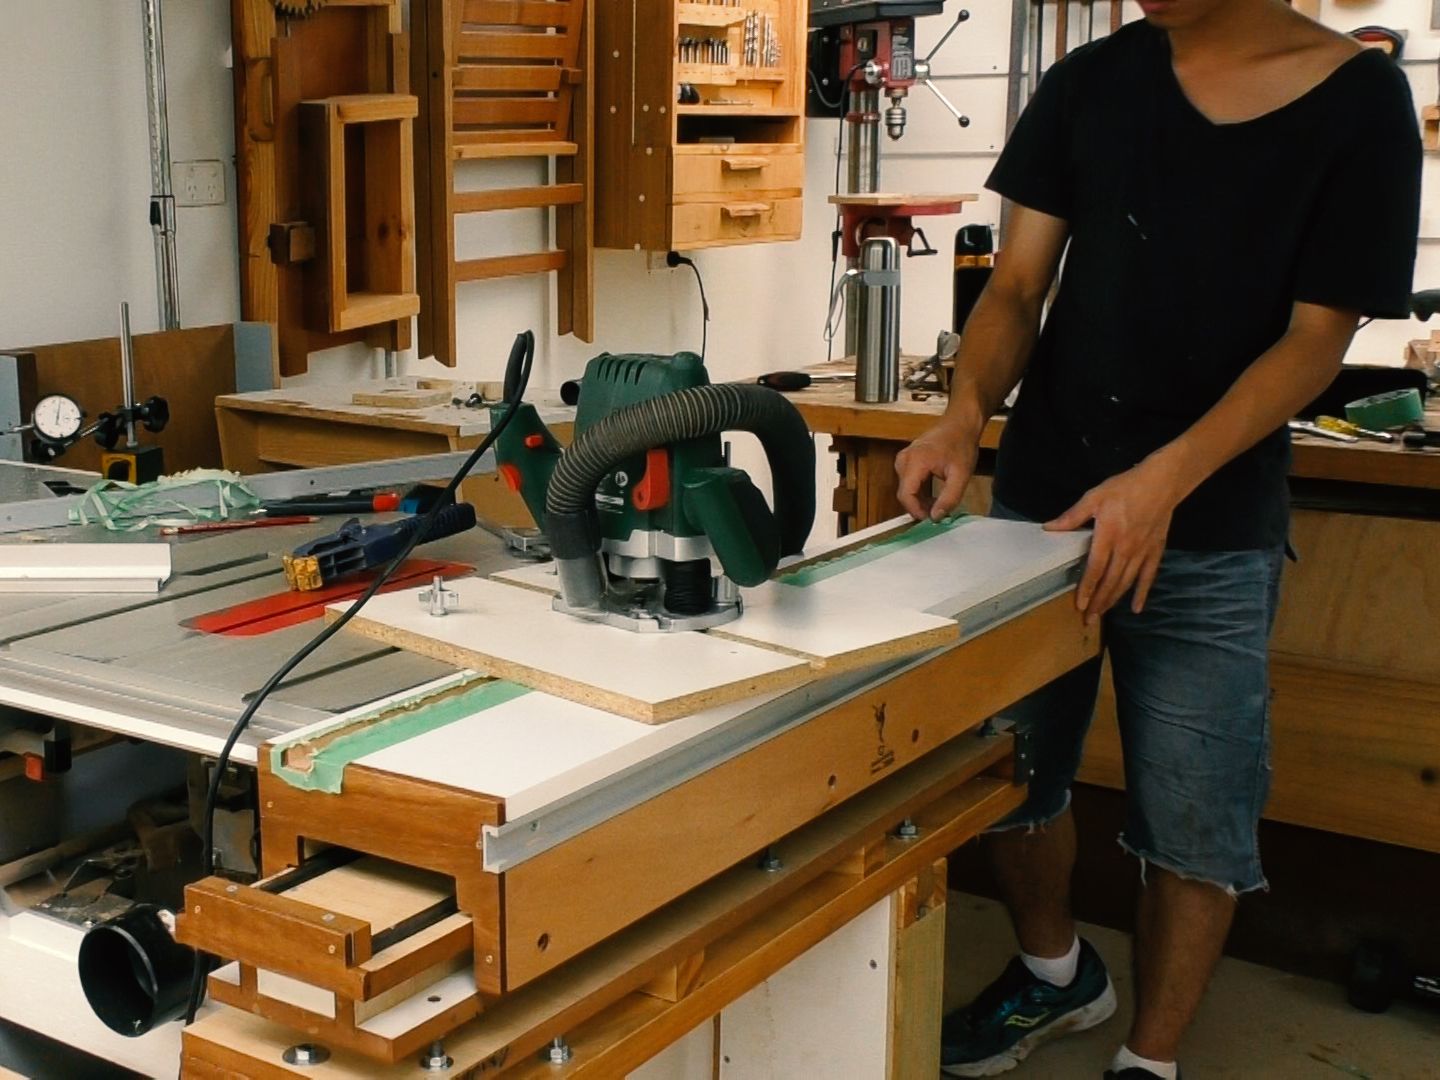 The Attachment has been installed in place and properly adjusted. The lateral T- Track has been installed too. Steven used a special jig to keep his router stationary and use the sliding action of the Attachment to plow the groove for the Table Top T-Track. The jig is adjustable to move it incrementally until the proper width is attained.
| |
| [ back ] |