Pedro's Format Table Saw - Part 3 | |
 These are the components of the Rip Fence, ready to be assembled.
 A close look at the "T" Square. Pedro widened the central channel to minimize the chance of play between the sliding parts.
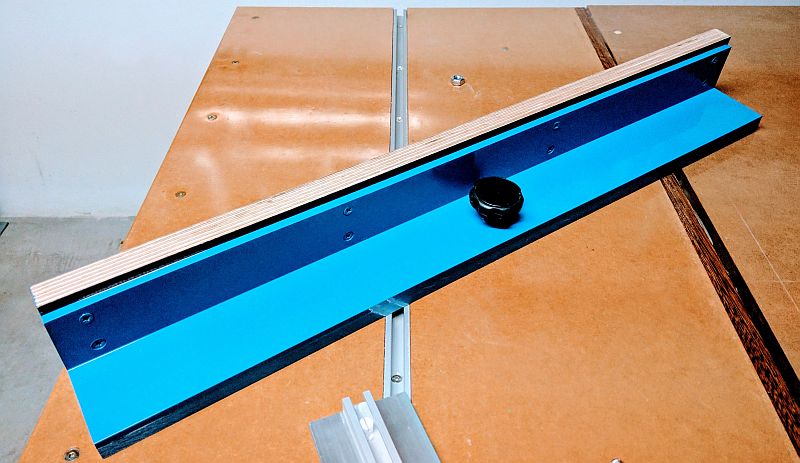 The impeccably built adjustable/reversible Fence. Note that the Sliding Table edge against the Blade has a hardwood strip for a neater and durable finish.
 An upside-down look at the Base. Generous adjustment screws. The central plate (attached with two small screws) prevents the Lock screw end from bearing directly onto the Rail.
 The "T" Square set on the rail. Locking Knob has been added. The unpainted small handwheel at the right will control a router, not yet installed.
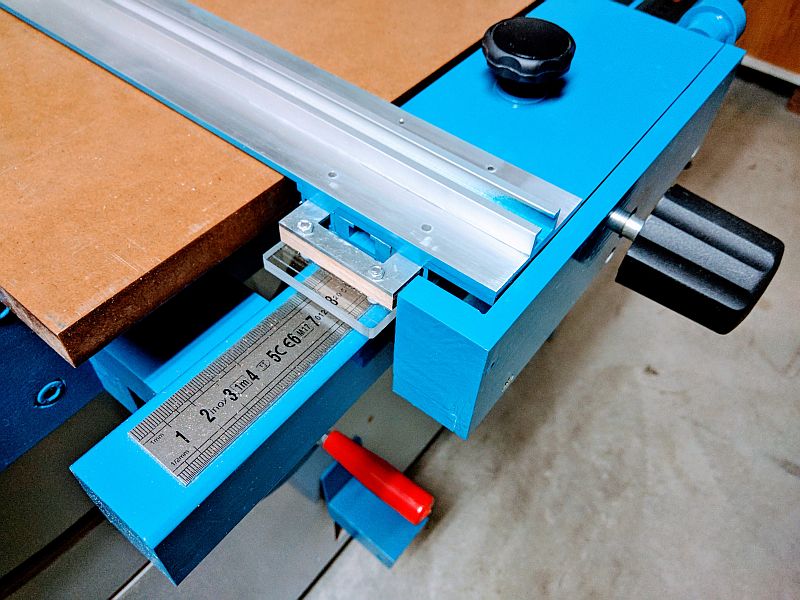 Close look at the Rip Fence system, cursor and comfortable Locking Knob. There is a neat, strong cover providing a nice overall look. Pedro used a 1m long stainless steel ruler instead of stick-on tape.
 With the actual Fence in place, the whole unit looks factory made!
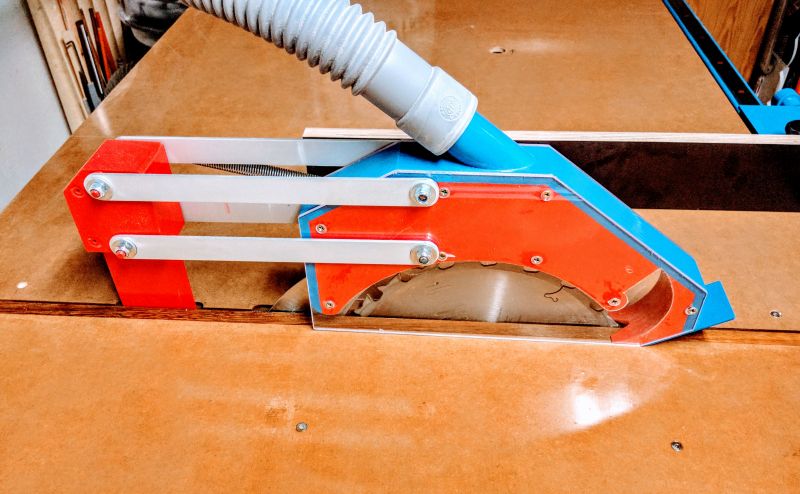 Even the Blade Guard received a special two-tone colour scheme!
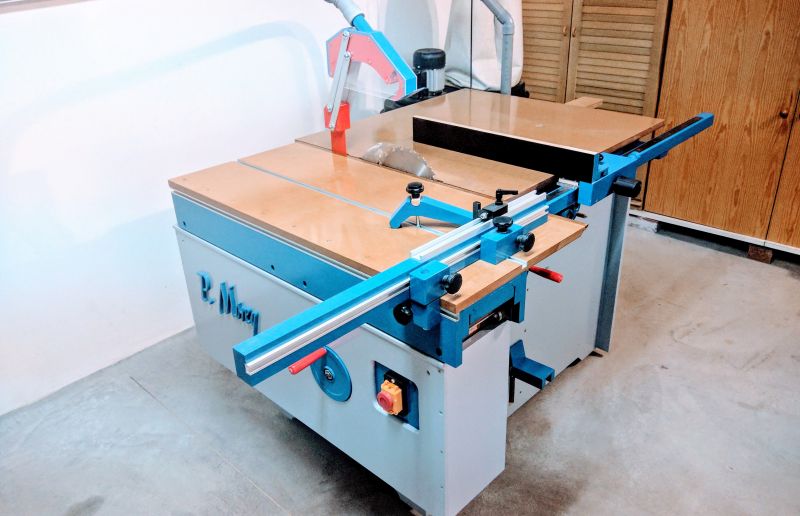
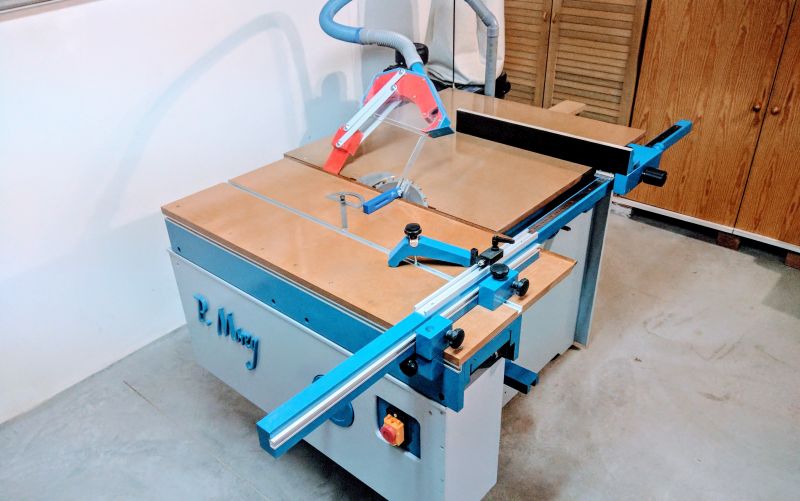 An overall view of the Saw with the Sliding Table centered and the Blade at 45 degrees...
 ...and now with the Blade at 0 degrees.
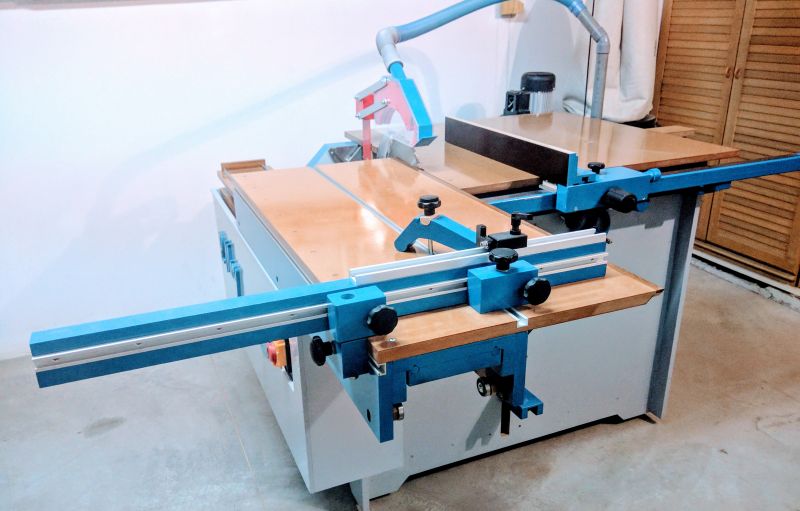
 A view from the front with the Sliding Table pushed to full forward position.
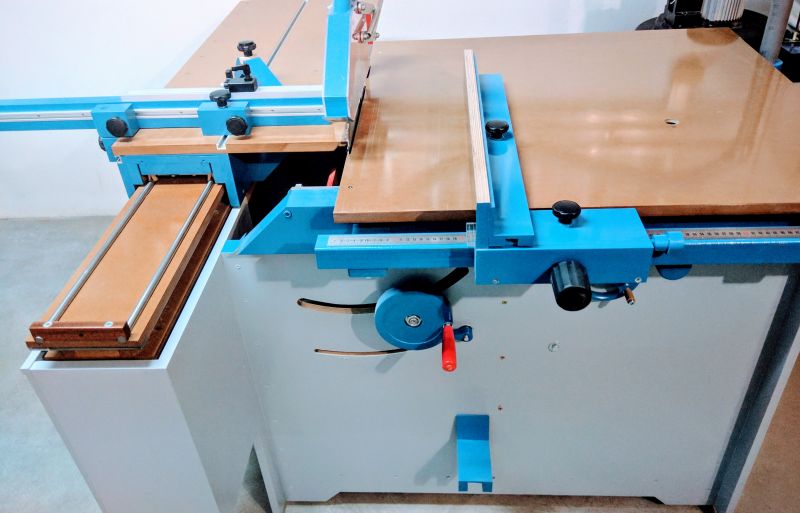
 The Sliding Table pulled completely to the front. The Crosscut Fence appears to be completely built out of wood.
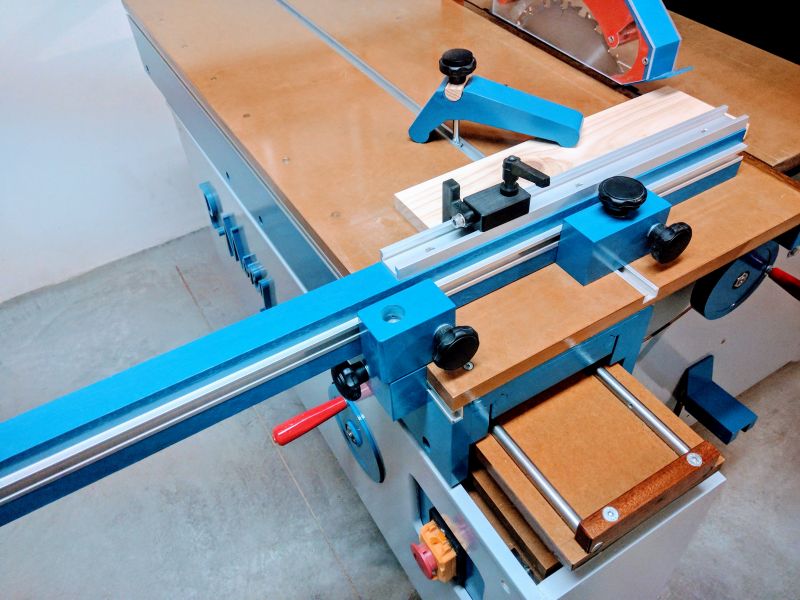 Closeup of the "business end" of the Fence. The Flip Stop is smaller but of thicker material to avoid flexing.
 Another view of the Crosscut Fence from its back. Pedro even constructed a hold-down. Note the dowel at the top where the threaded rod goes through. This arrangement self-adjusts to the thickness of the material being clamped.
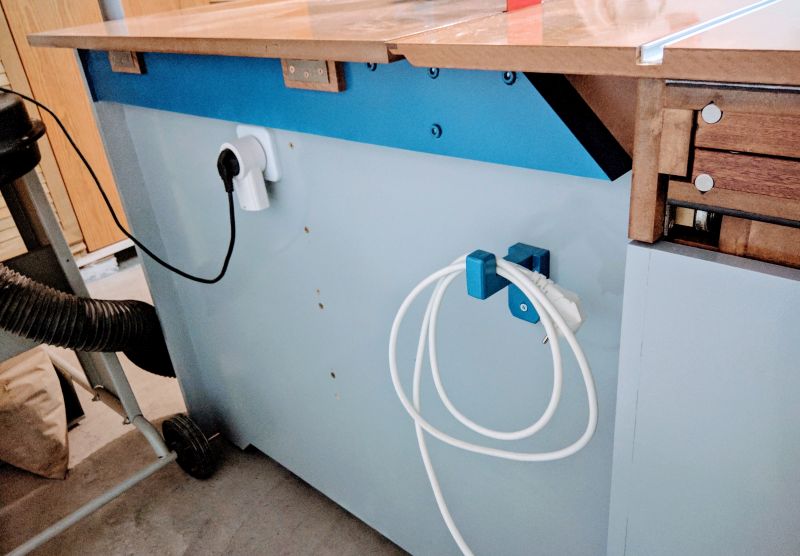 There is an extra socket at the back to plug in the external Dust Collector and a cute hook for the Saw's cable.
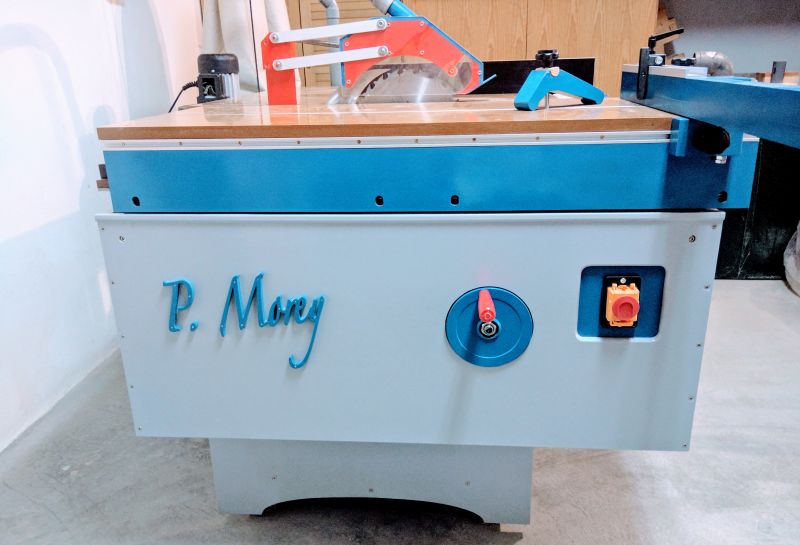 And the final touch: A personalized logo with Pedro's signature!
| |
| [ back ] |