Workbench - Part 5: Barrel Nuts | |
|
I was not able to get bed bolts of the required size so I devised a method to fabricate barrel nuts using T-nuts inserted in a hardwood dowel.
 This is the part we want to build. A small one but providing an important function.
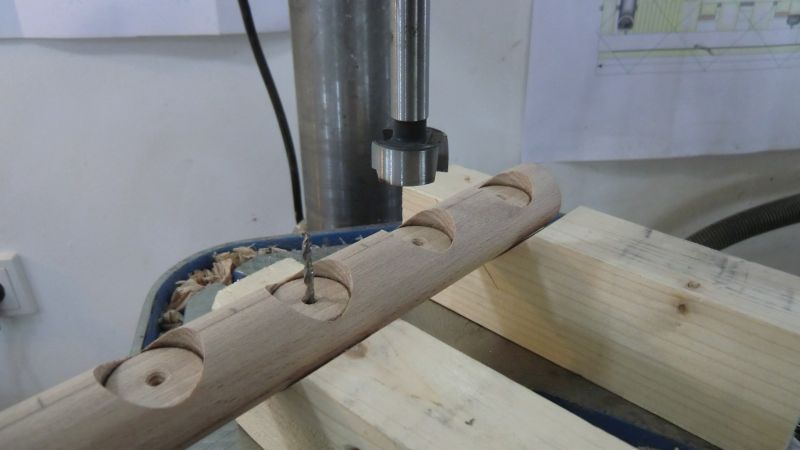 Begin by cutting two identical supports to hold the dowel securely in place on the drill press table. Cut two 45° angles to create a V-groove.
Drill a hole at the bottom of the V in both supports. Clamp one support to the table after drilling the hole. Lay the hardwood dowel on both supports and drill a 4mm hole through. It should fall exactly over the hole in the support. This ensures the hole will be exactly through the middle of the round stock. Now space and clamp the second support so that the distance between their respective holes is about 50mm. Use a second drill bit and stick it throuch the first hole into the second support. (See photo at left). This way all holes will line up. After drilling the pilot holes you can drill the recess for the T-nut using a Forstner bit.
Begin by cutting two identical supports to hold the dowel securely in place on the drill press table. Cut two 45° angles to create a V-groove.
Drill a hole at the bottom of the V in both supports. Clamp one support to the table after drilling the hole. Lay the hardwood dowel on both supports and drill a 4mm hole through. It should fall exactly over the hole in the support. This ensures the hole will be exactly through the middle of the round stock. Now space and clamp the second support so that the distance between their respective holes is about 50mm. Use a second drill bit and stick it throuch the first hole into the second support. (See photo at left). This way all holes will line up. After drilling the pilot holes you can drill the recess for the T-nut using a Forstner bit.
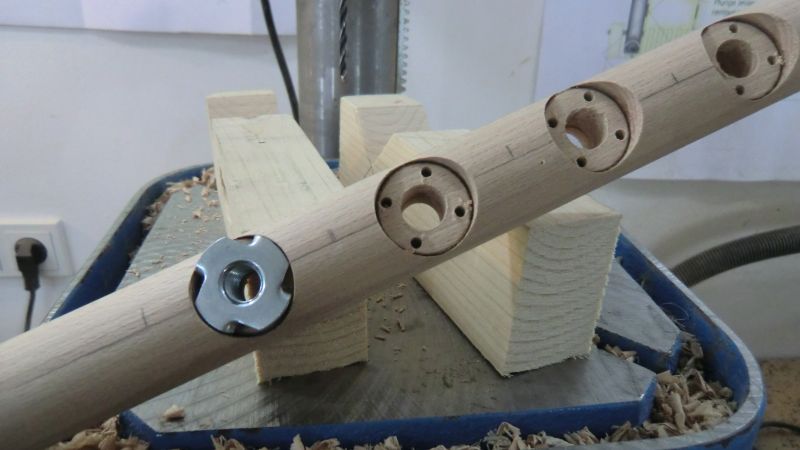
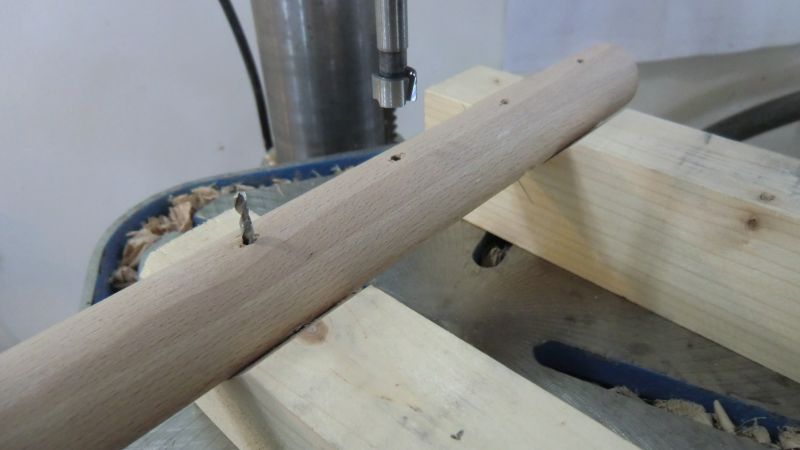 Then turn the dowel 180° and drill the smaller holes for the shaft of the T-nut from the opposite side.
 Here you can see the holes drilled all the way through. Note the shape of the supports with their pilot holes.
 The holes as seen from the other side.
 Check the fit of th T-nuts and lightly tap them in place to mark where the grip teeth will go.
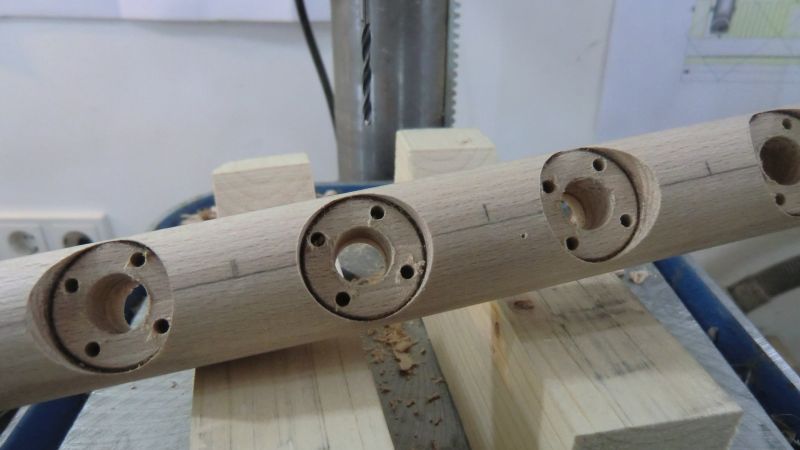 Drill pilot holes for the grip teeth of the T-nuts to prevent the wood from splitting.
 I pressed the T-Nuts in with a vise. It is much better than using a hammer and puts less stress on the dowel.
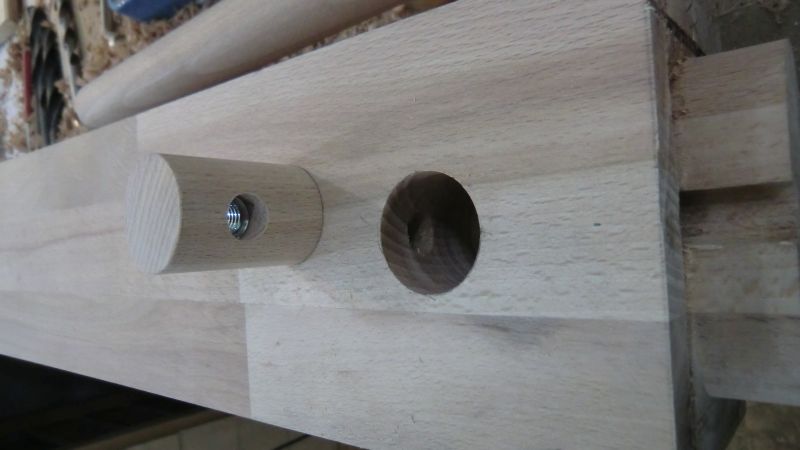
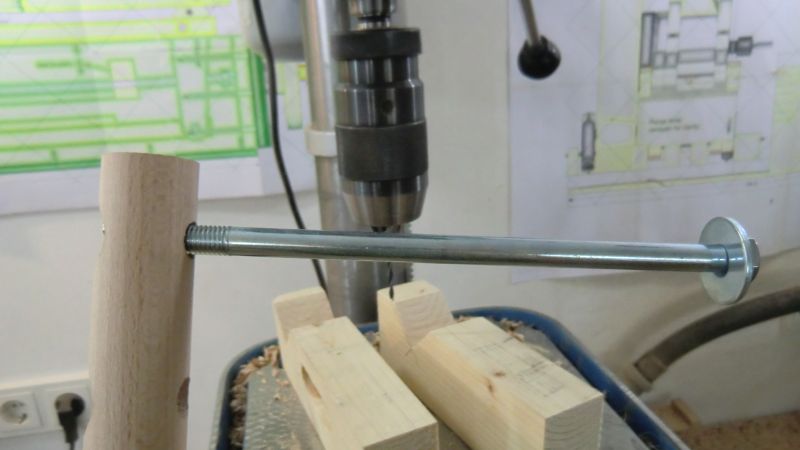 Test the bolt into the T-Nut.
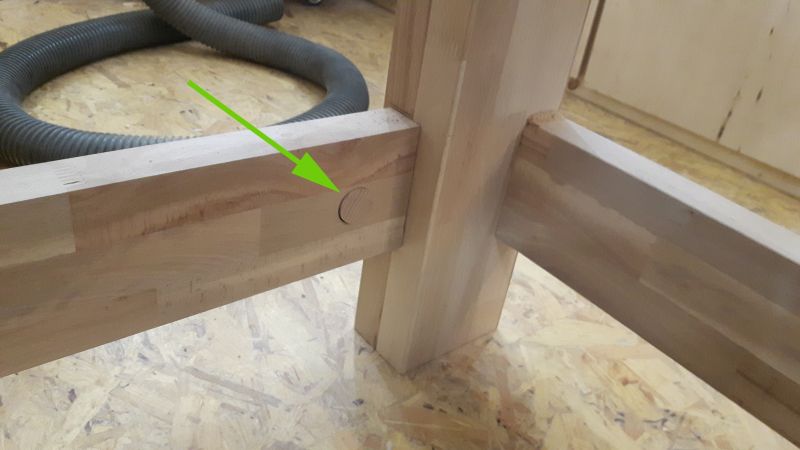
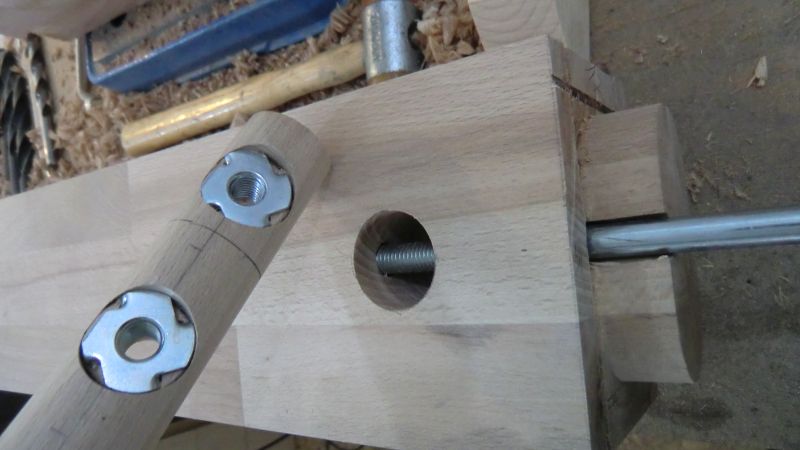
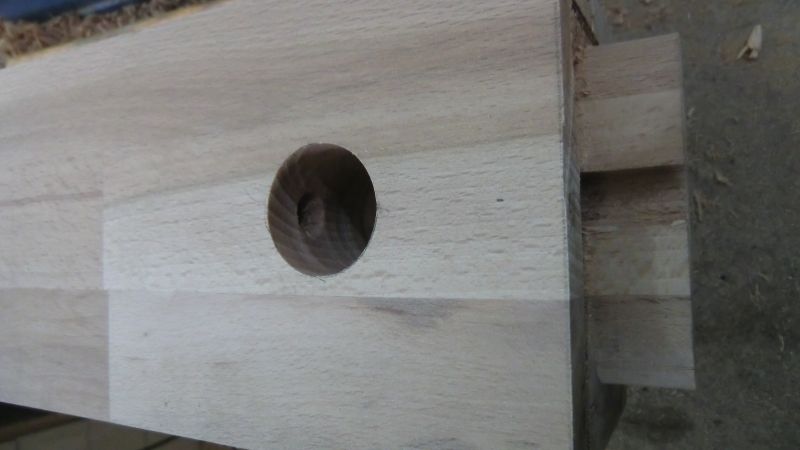 Here is a typical installation. A hole for the wooden barrel nut and also the hole for the bolt. This last one goes through the tenon and is slightly bigger than the bolt diameter to make insertion easier.
 The hole should be deep enough to ensure there is enough thread to grip the T-nut with length to spare beyond.
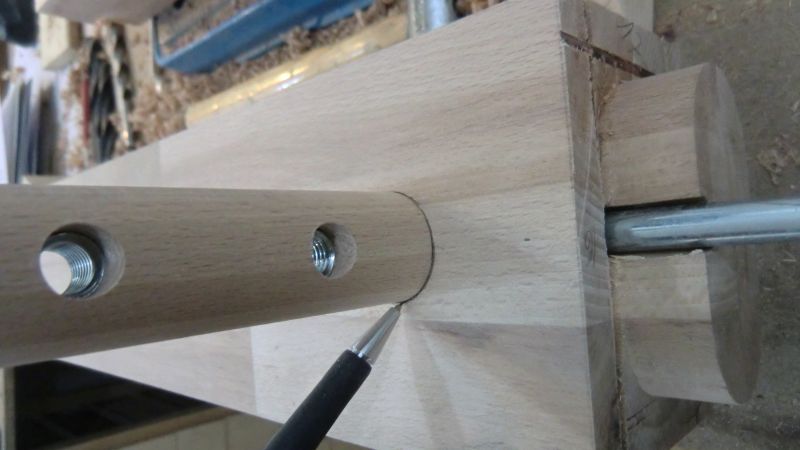 Marking the length of the barrel nut with a pencil.
 Just use a saw to cut it to the right size.
 Ready to go inside its place.
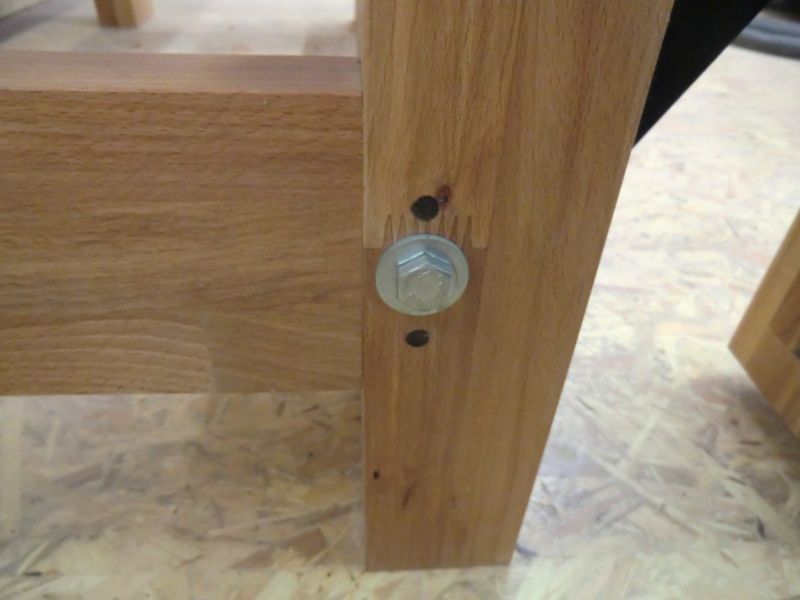 The bolt in place and tightened. Its amazing how much force you can put on this arrangement. Its the best connection I've ever built.
Just a note. The front beam is built with two layers to support the deadman. The back beam is just one layer thick.
[ Part 1
| Part 2
| Part 3
| Part 4
| Part 5 ]
| |
| [ back ] |