Router jigs | |
 Building the new workbench required a lot of work with the router. I missed a good fence, easy to build and quick to set. And an extra support to prevent the router from tipping over when placed on a narrow surface.
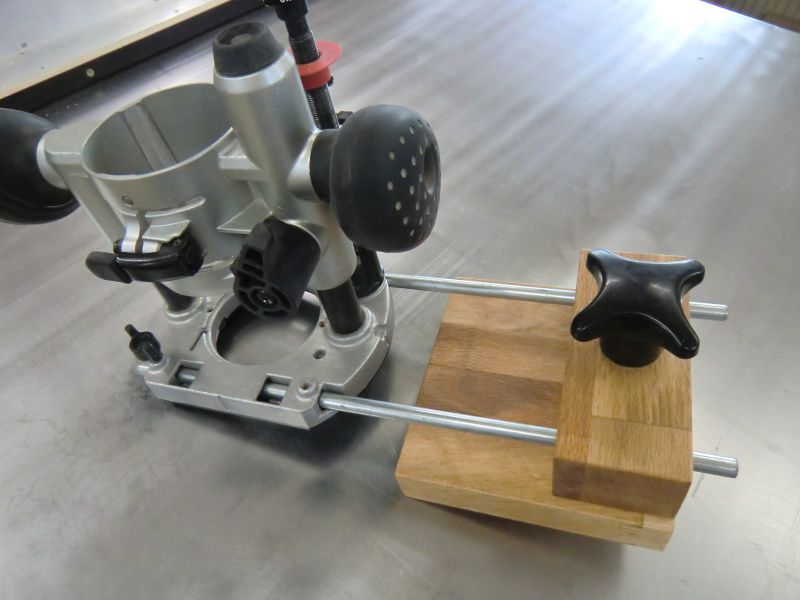 The fence is easily attached to the router base using two 8mm round steel guide bars.
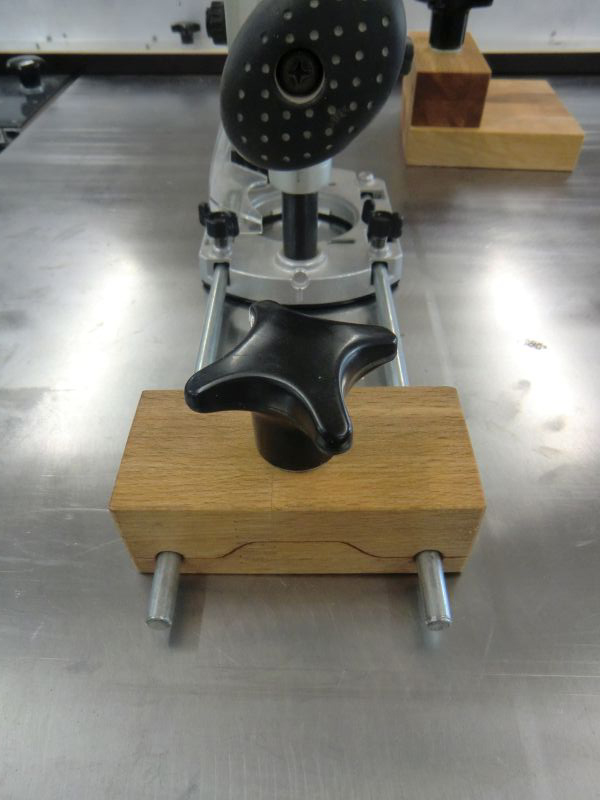
 To set the fence at the right distance you only have to loosen a knob, move the fence and re-tighten the knob.
The knob also doubles as an extra handle.
To set the fence at the right distance you only have to loosen a knob, move the fence and re-tighten the knob.
The knob also doubles as an extra handle.
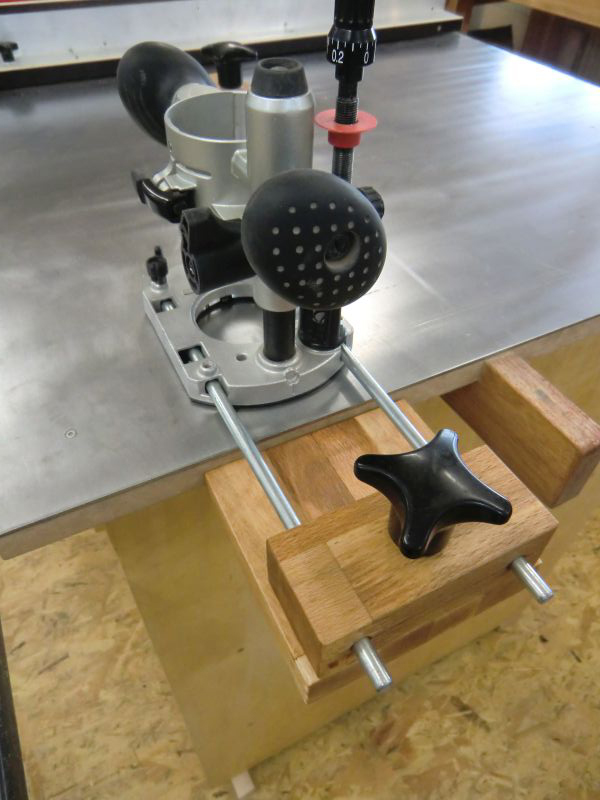
 The fence is built so that it can go under the router base to place the bit near the edge of the workpiece.
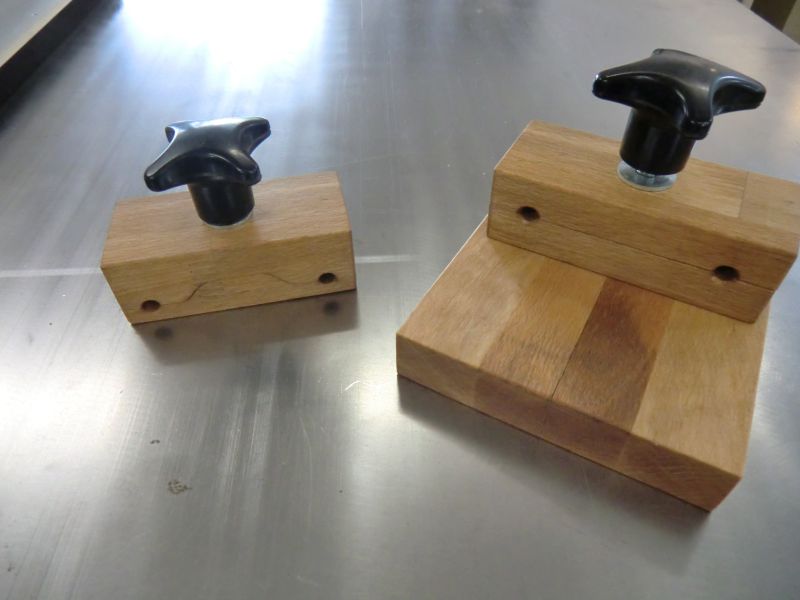
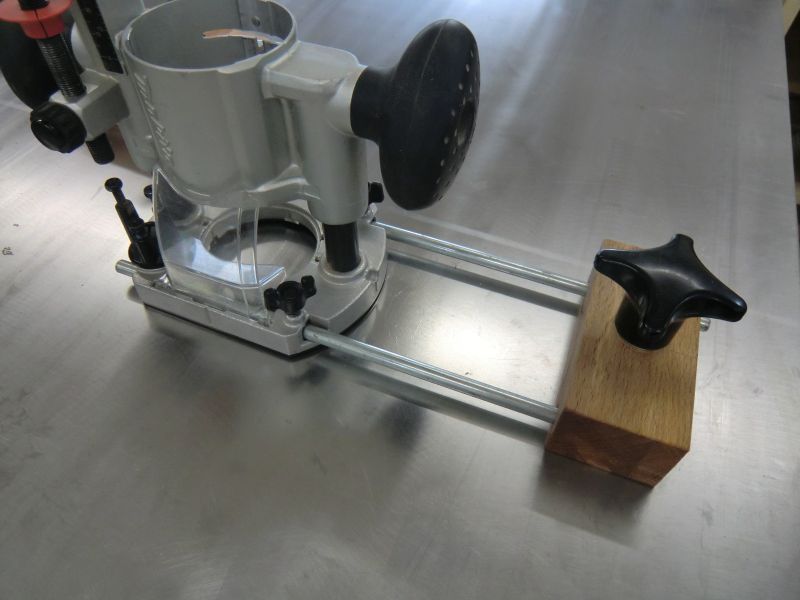 The extra support has a similar construction. The holes for the metal bars are closer to the bottom face to make it level with the underside of the router base.
 The block is then cut with a curved shape to provide more material at the center of the bottom part.
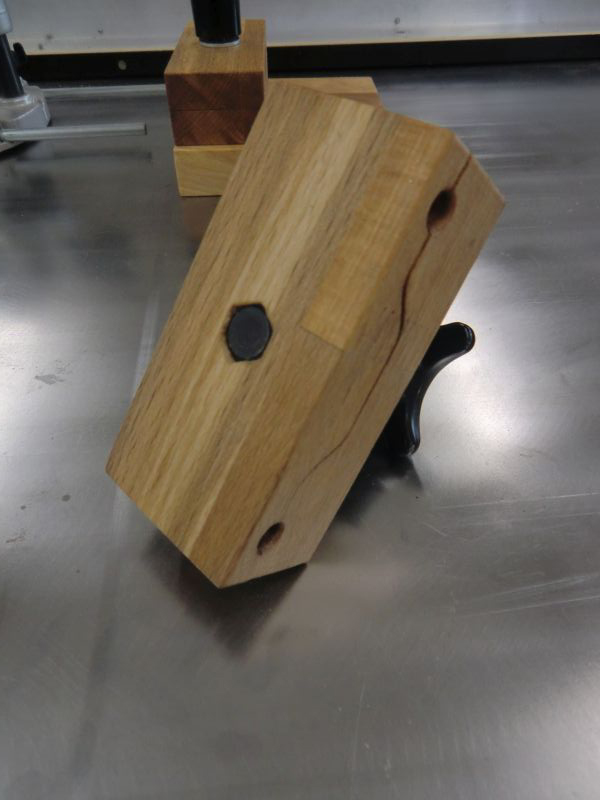 The support as seen from below. The extra wood at the bottom allows to recess the hex head bolt into the wood. The hex-shaped cutout is chiseled out.
 The extra support disassembled showing its parts and construction details.
Building processUse straight, compact hardwood throughout. You may have to adjust measurements to suit your particular router. Double check for squareness of all parts and drill holes carefully. Be sure that the drill press arbor is exactly at 90° to its table. Apply your favourite finish to all parts and a coat of wax. This will keep dirt away and provide smooth operation.FenceThe fence block is 40mm x 50mm x 120mm. Holes for the metal bars are at mid-height of the block and about 20mm from the edge. Split this block in two along the center of the holes. This will create enough clearance so the hex-head screw and knob press it tightly on the bars. The lower fence plate is attached to the upper with a couple of woodscrews. Place them so they do not fall where the holes for the bars are.
Extra Support
Clicks: 3077 | |
| [ back ] |